How To Rig A Spring Bobber In 4 Easy Steps
Suspending a worm, minnow, or soft plastic under a spring bobber is quite possibly the easiest way to catch a fish in shallow water. When most people think of bobber fishing, they think of small fish, but this technique captures anything from panfish to bass and even walleyes. Toss a your bait out there under a bobber, and you don’t know what could slurp it down.
Here is a quick rundown on how to set your spring bobber. A very similar method is used for clip-on bobbers, which usually round and colored the classic red and white. The main difference is that clip-on bobbers don't have a spring and should be secured at the top and bottom.
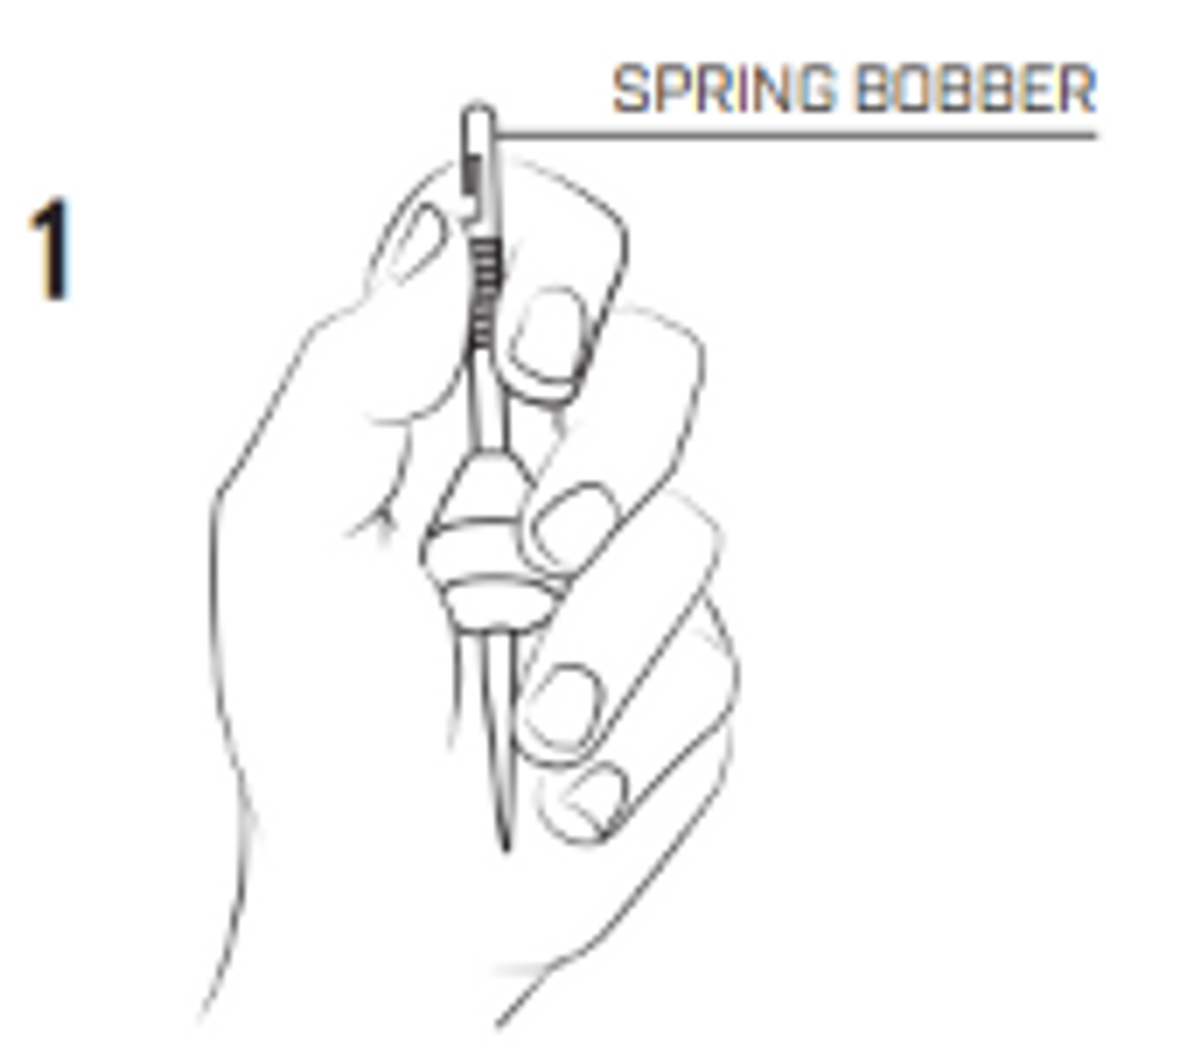
To start, get the bobber ready. Using your thumb and pointer finger, pull spring away from tip of bobber to expose the notch. Doing this will expose the small slit at the end of the bobber, this is where you connect the fishing line.
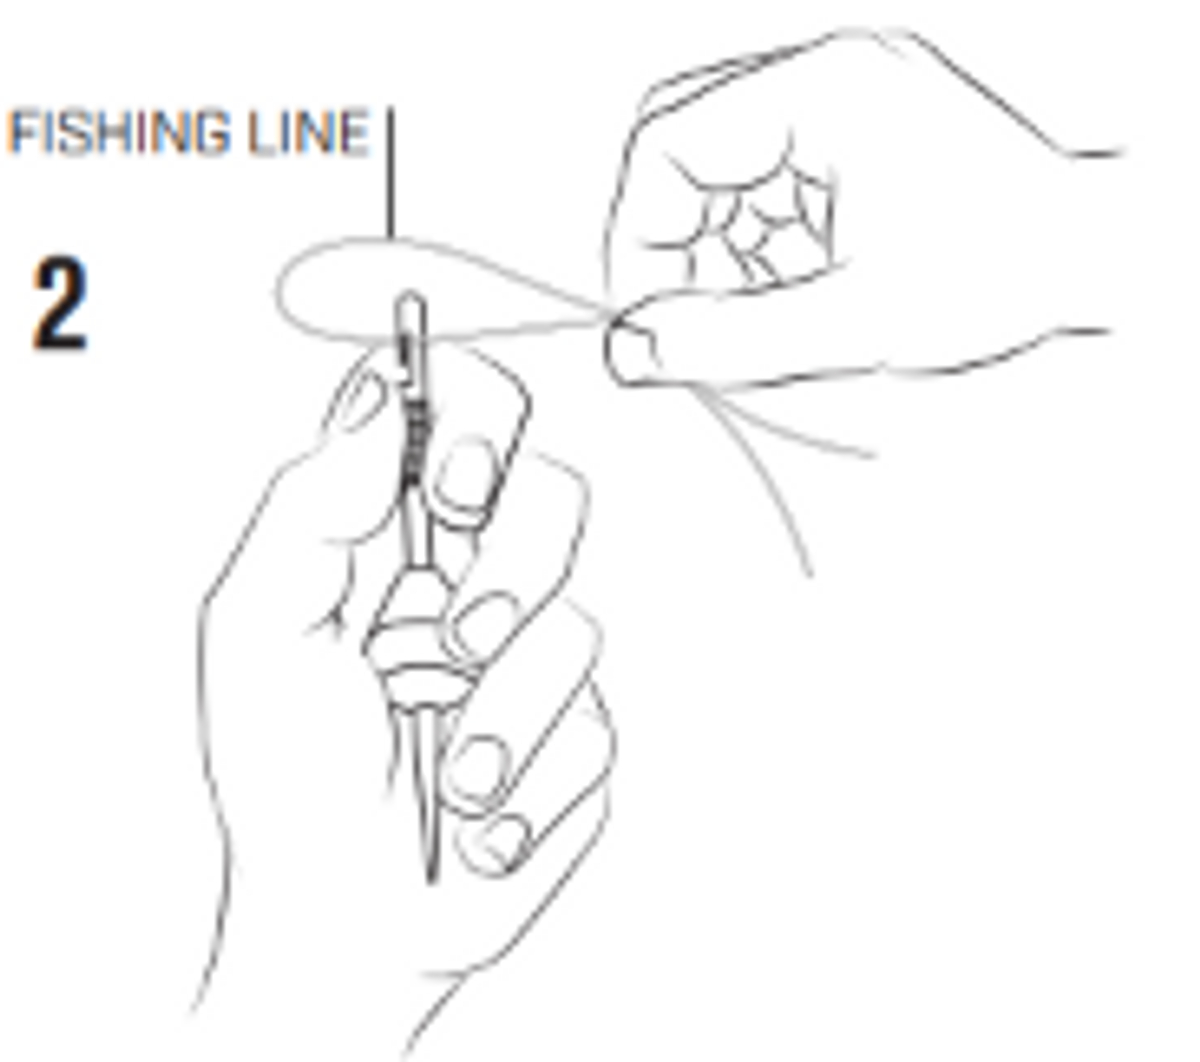
Next, make a loose loop with your fishing line about 2 -3 feet above your jig head. Then, hook the end of the loop into the notch. When you release the spring, the fishing line locks to the spot where the line grasps. The distance between your bobber and the end of your fishing line is how far your bait will hang underwater. Adjust the depth of your bobber based on how deep you are fishing.
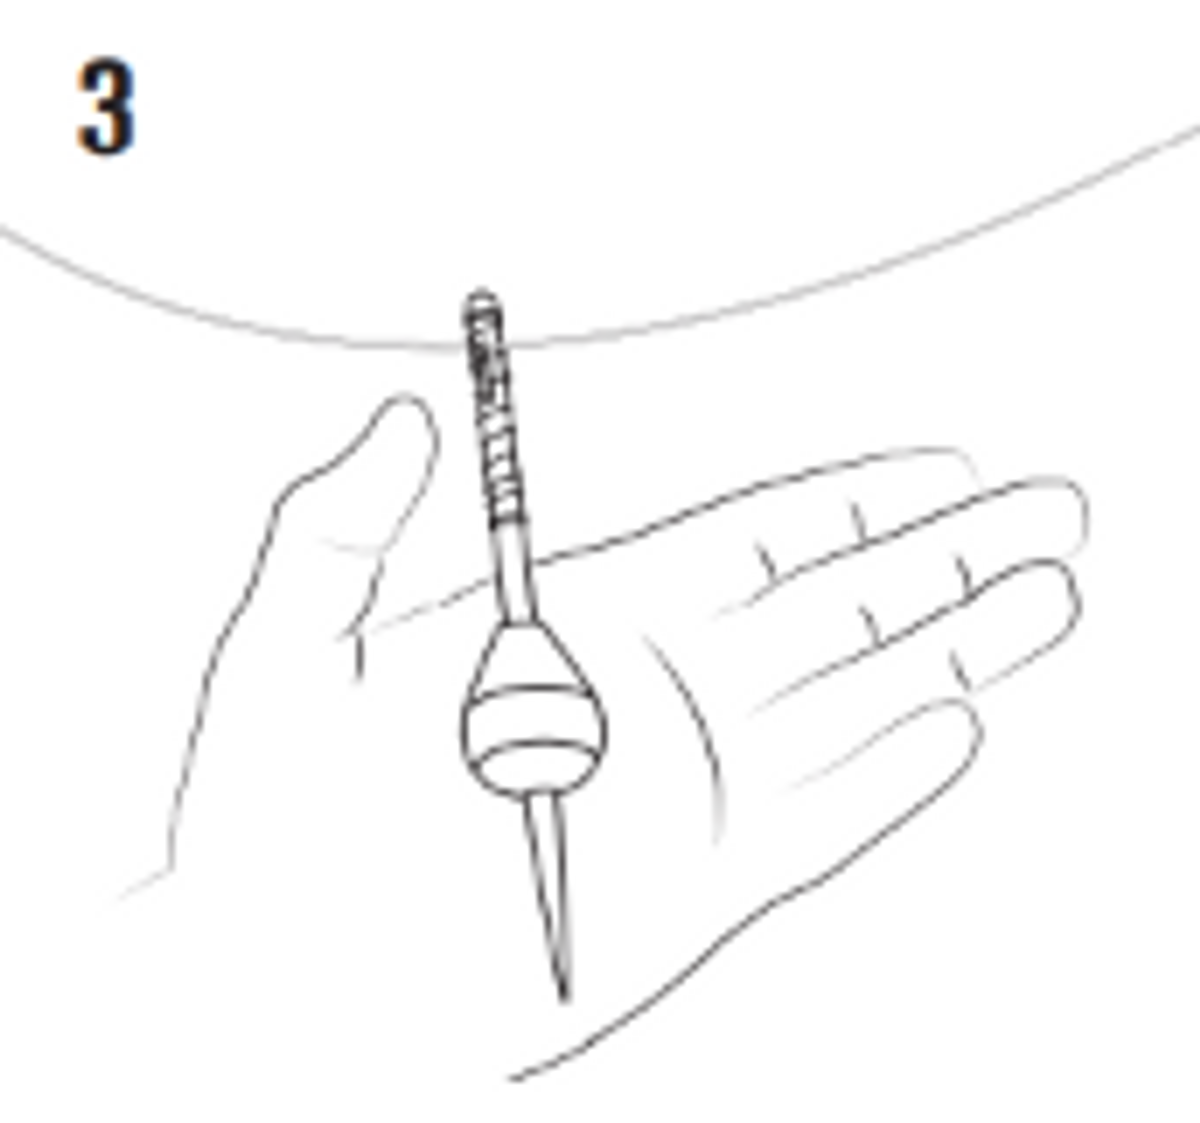
Now, release the spring so that it covers the notch and line. If you need to adjust the location of your bobber, simply pull the spring back and slide the line left or right to adjust. Remember, release the spring to secure the line once you’re done!
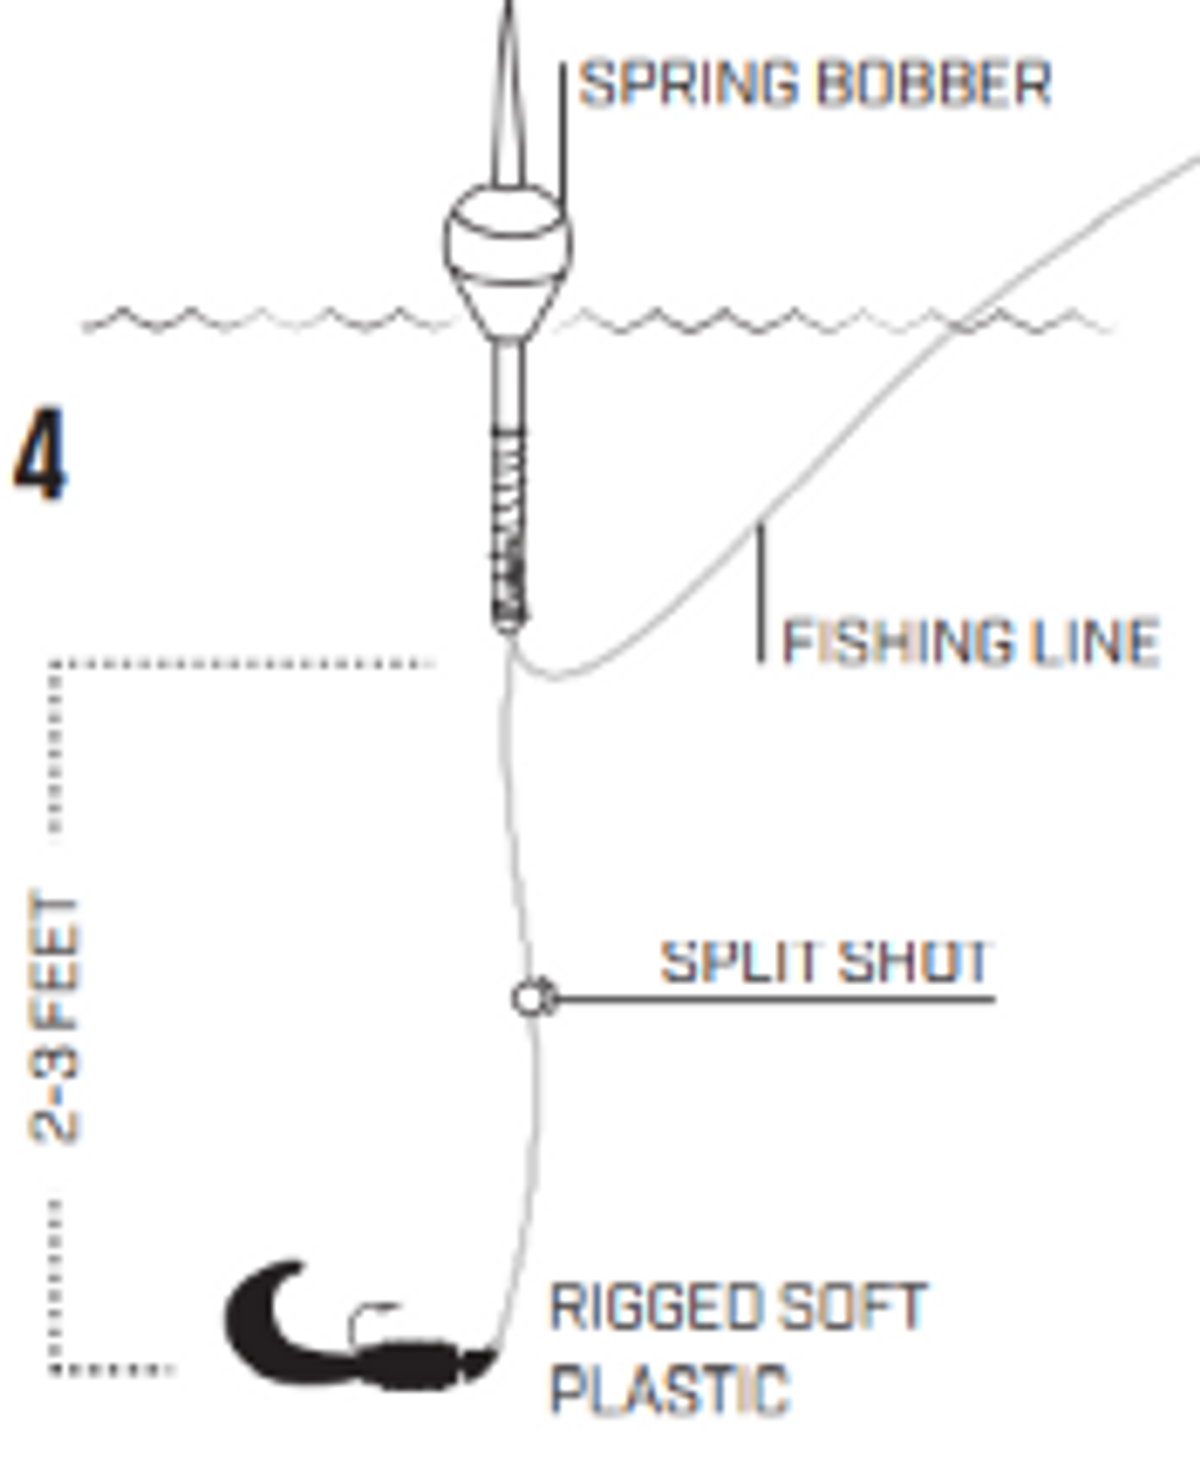
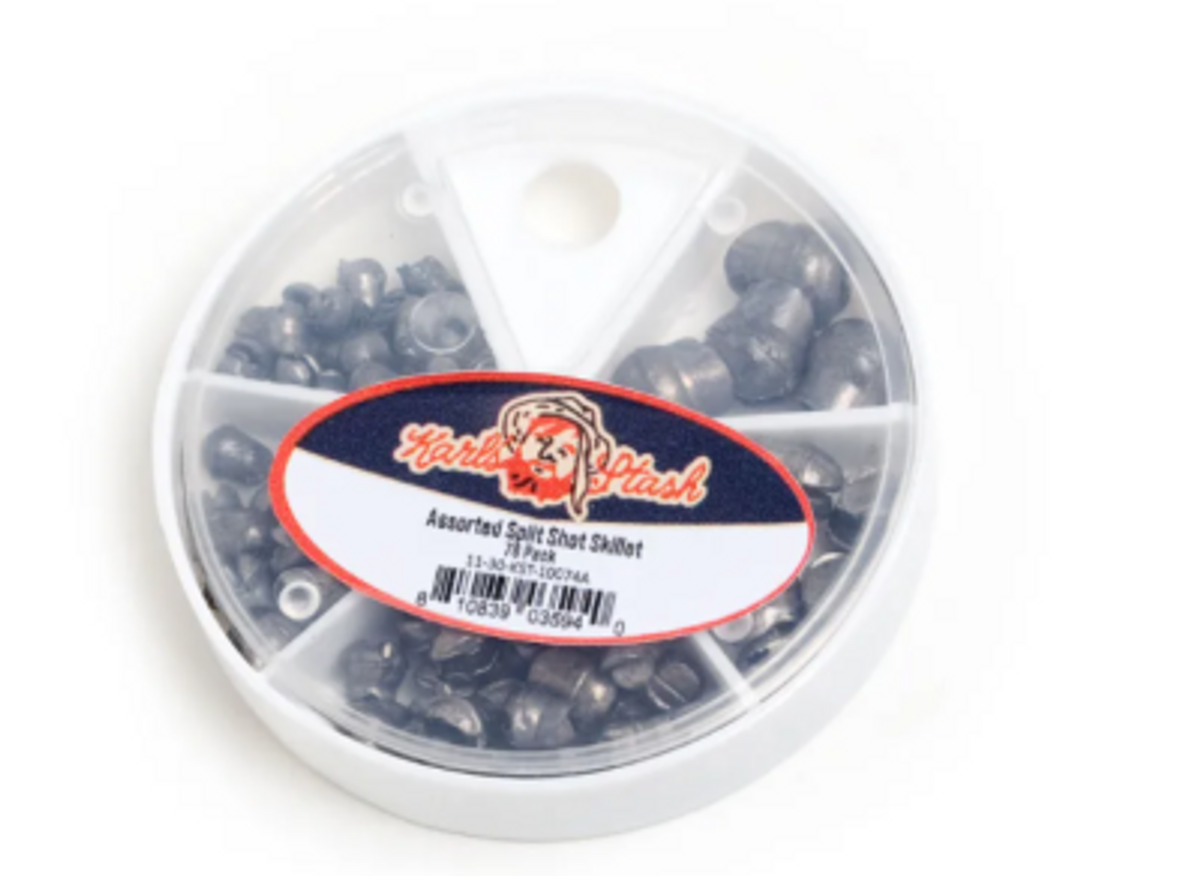
Finally, you need to attach your split shot. Lay the line in the crease of the split shot and press the sides together to secure. The split shot should be about halfway between your jig head and bobber. Now you’re ready to start casting!
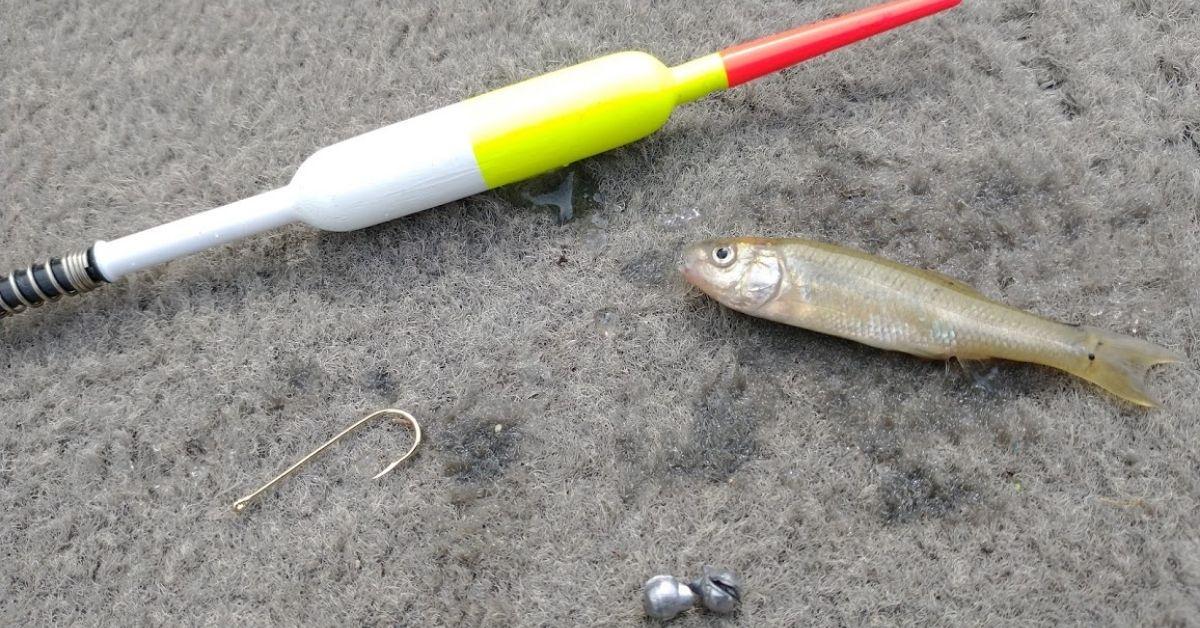
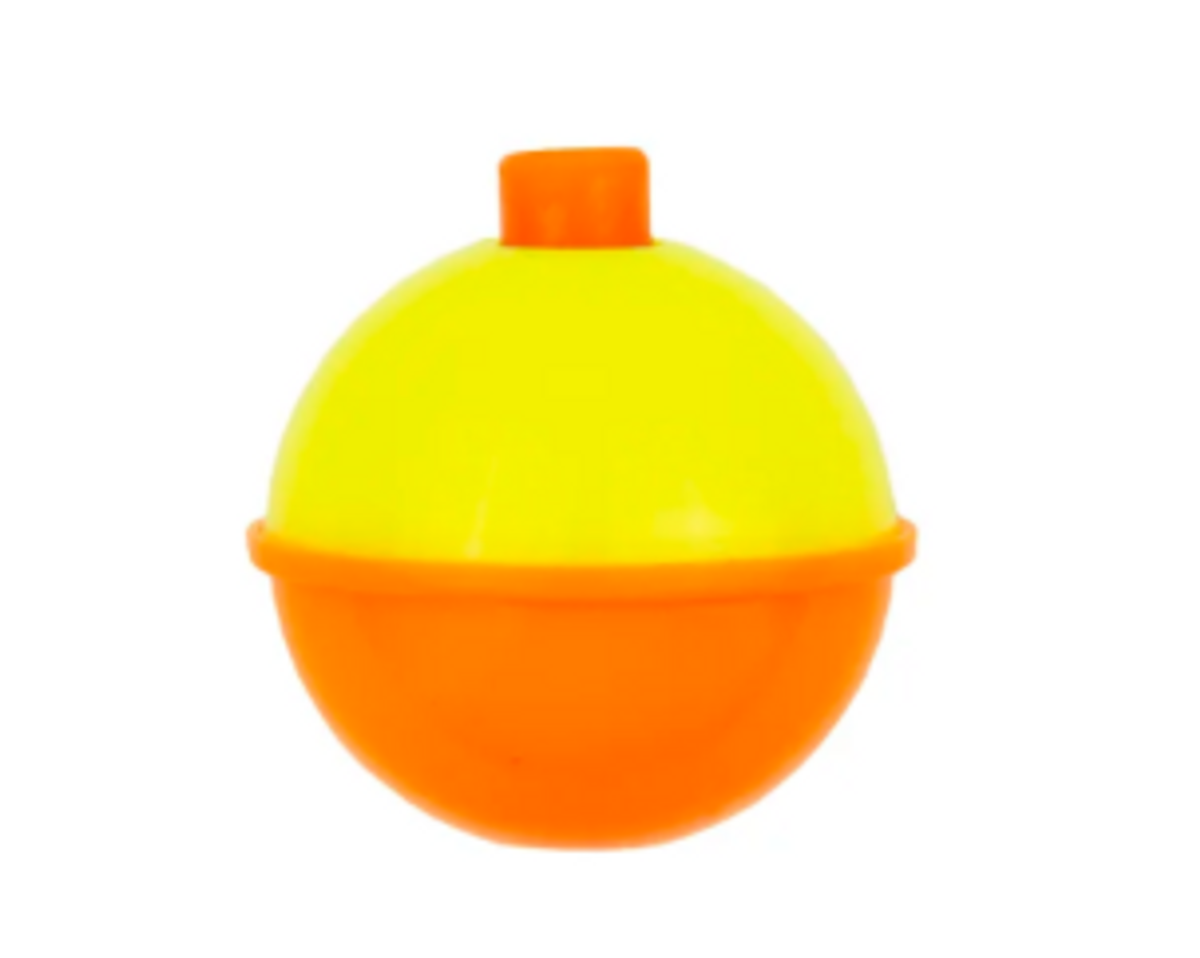
What You Need To Go Spring Bobber Fishing
Updated May 11th, 2021 at 11:20 AM CT