The Ultimate DIY Kayak Fishing Crate (Step By Step Build)
Building yourself the ultimate fishing crate is a cheap and easy way to simplify your storage options while fishing from the bank, kayak, or boat. Using only a few tools and supplies, we will walk you through the steps of building the ultimate fishing box from two milk crates.
Item List:
- 2 - Milk Crates (If you don’t already have these, ask a local grocery store to sell you a few)
- 5 - Zip Ties
- 1 Bungee Cord
Tool List:
- Hack Saw
- Diagonal Cutting Pliers (Snips or Wire Cutters)
- Sand Paper
- Rasp File (optional)
- Drill & Bits
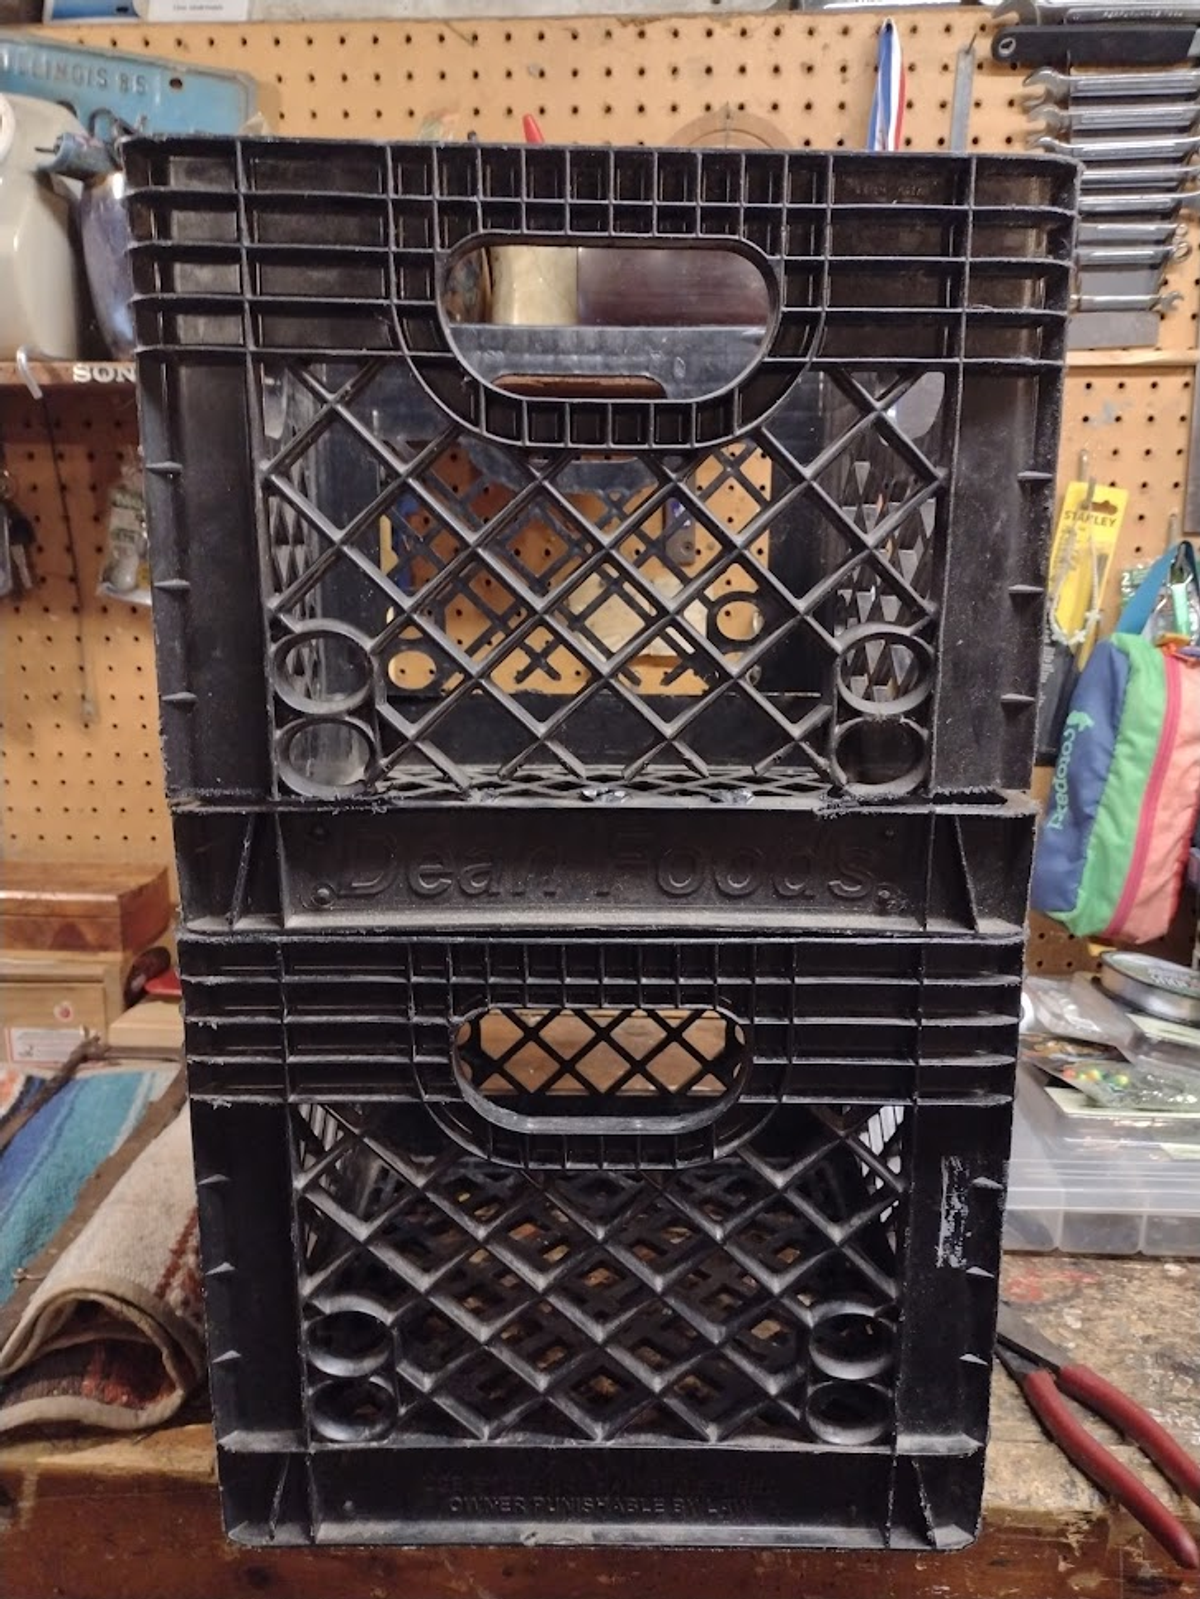
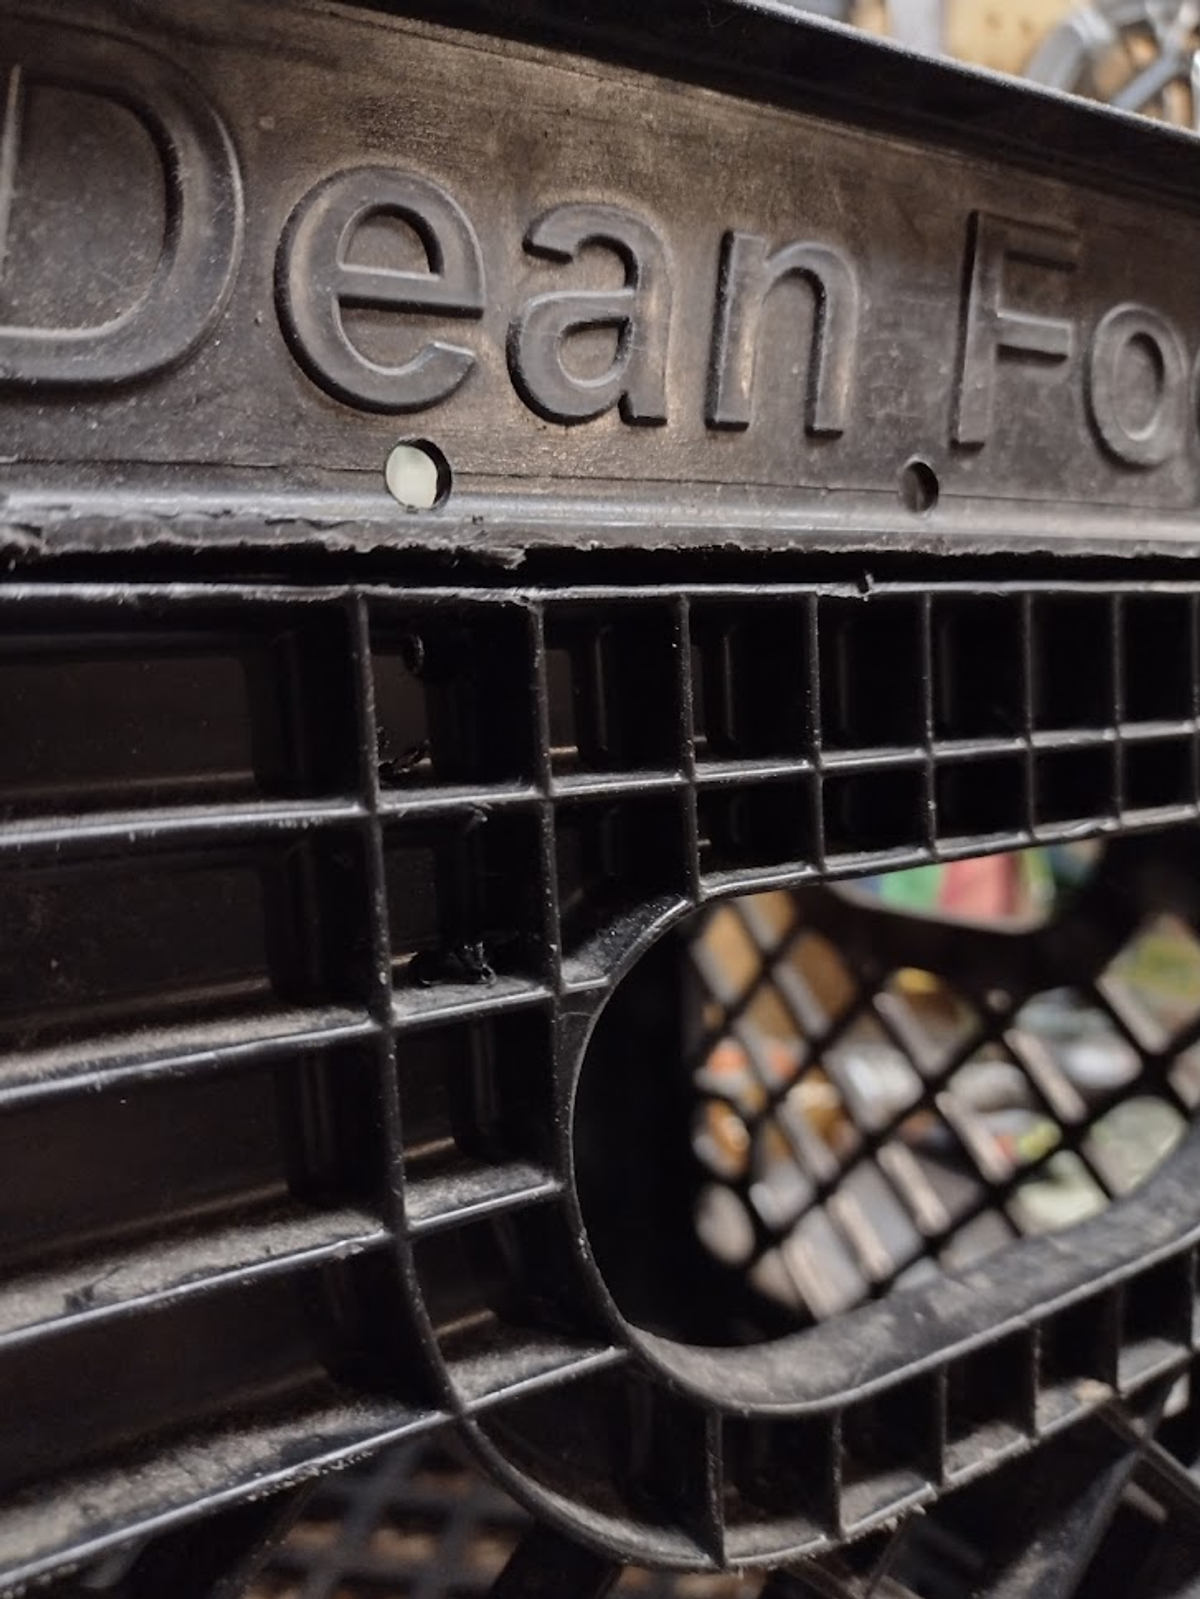
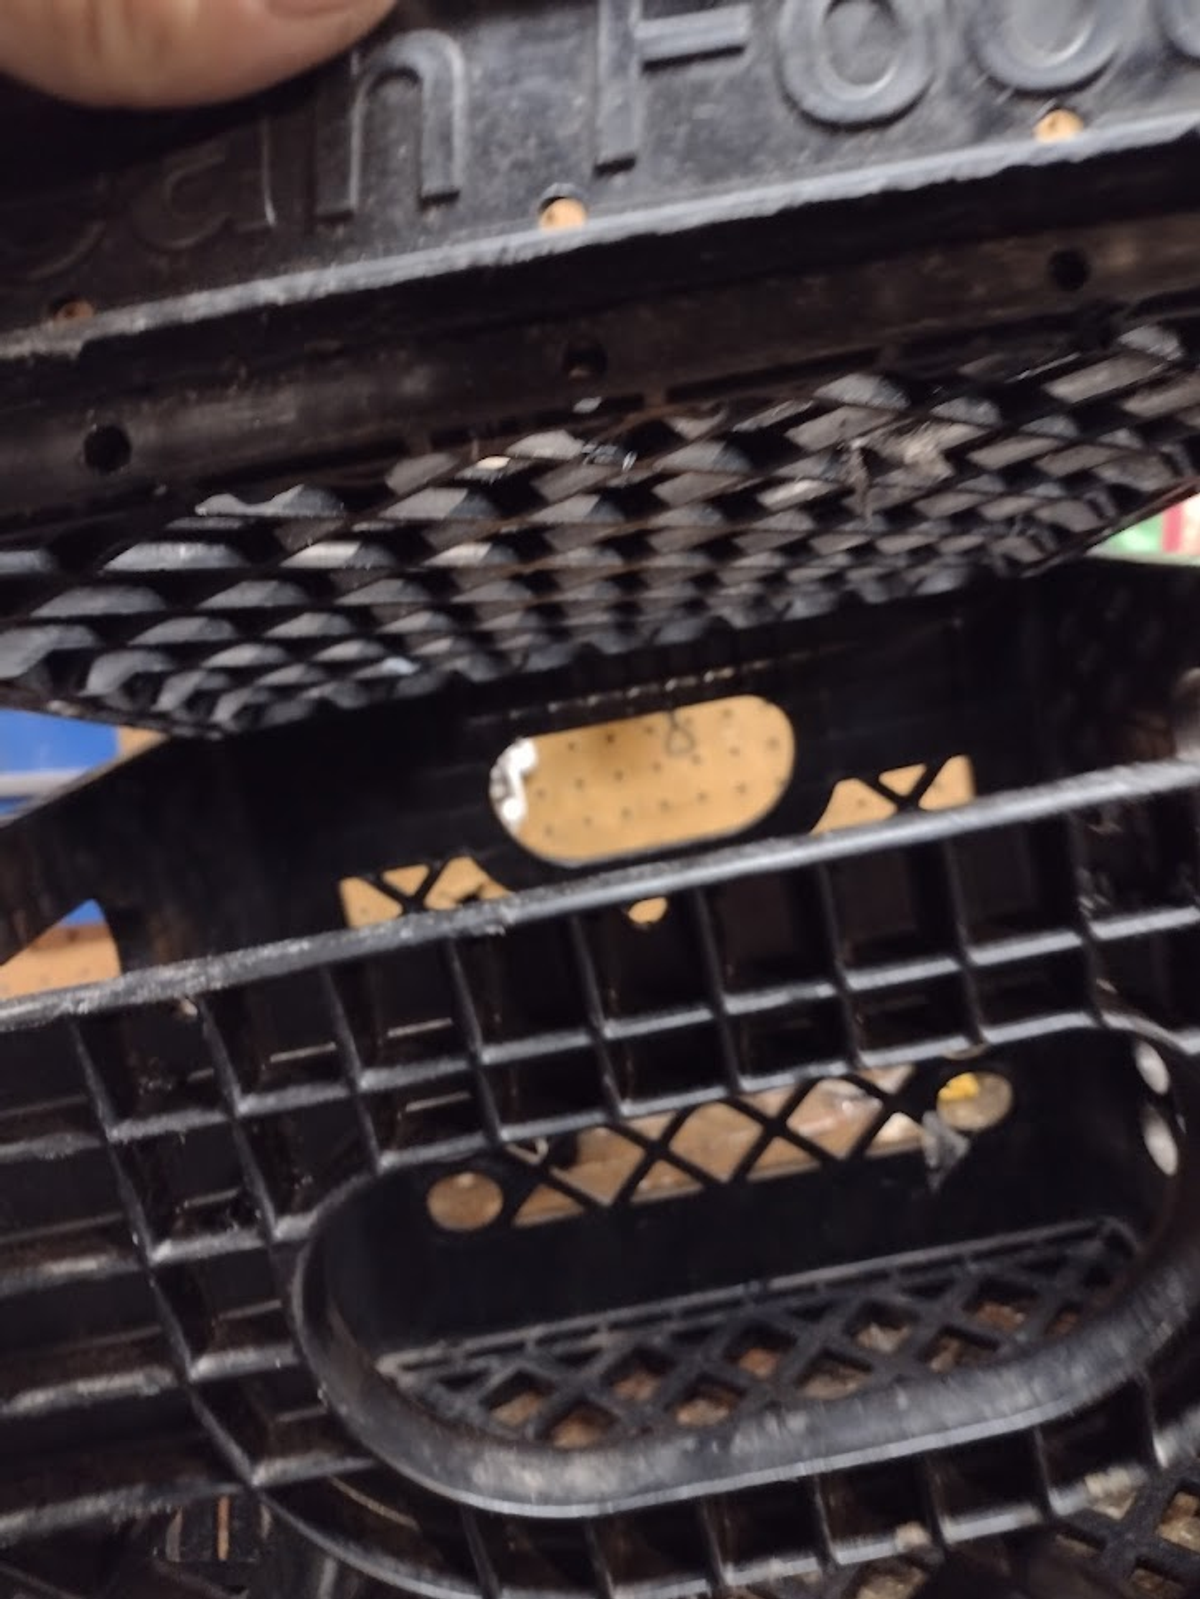
Step 1: Stack and center the two crates to ensure they’re both faced in the same direction before making the first cut. Then, cut the top section off the top milk crate so that only the base foundation is left. This will be the lid for your crate.
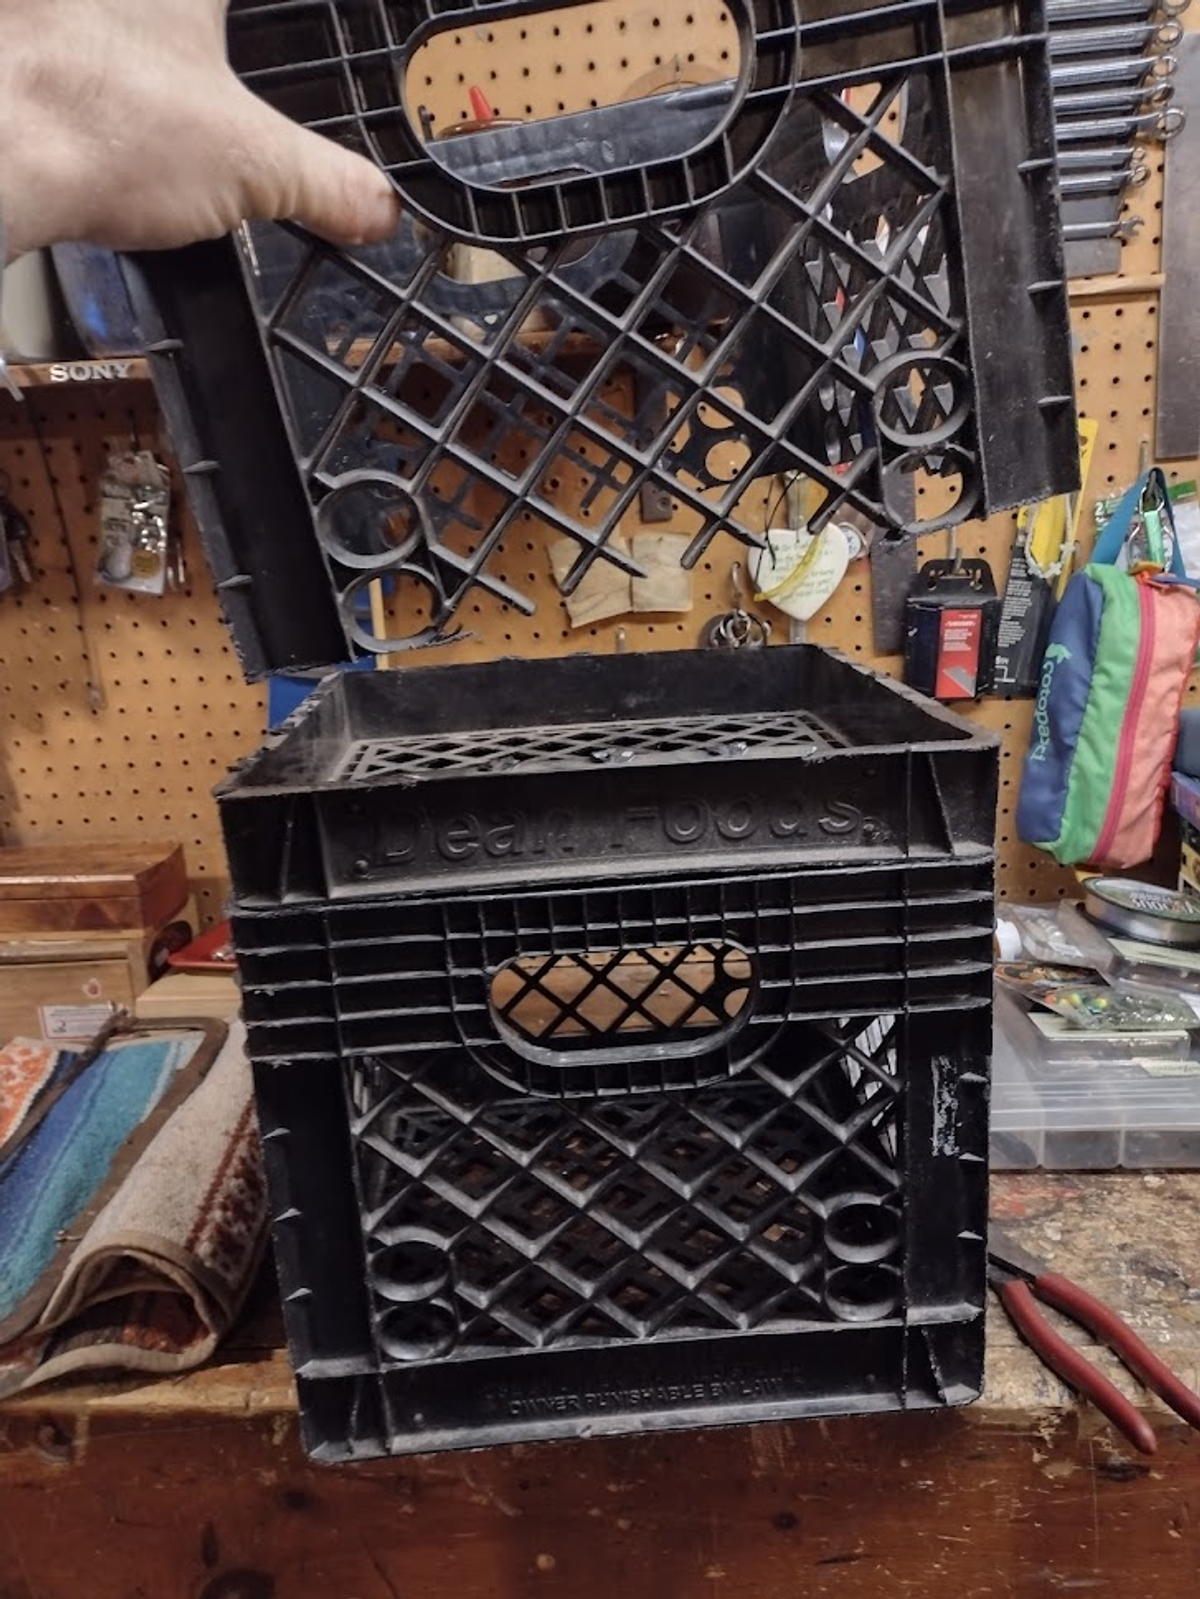
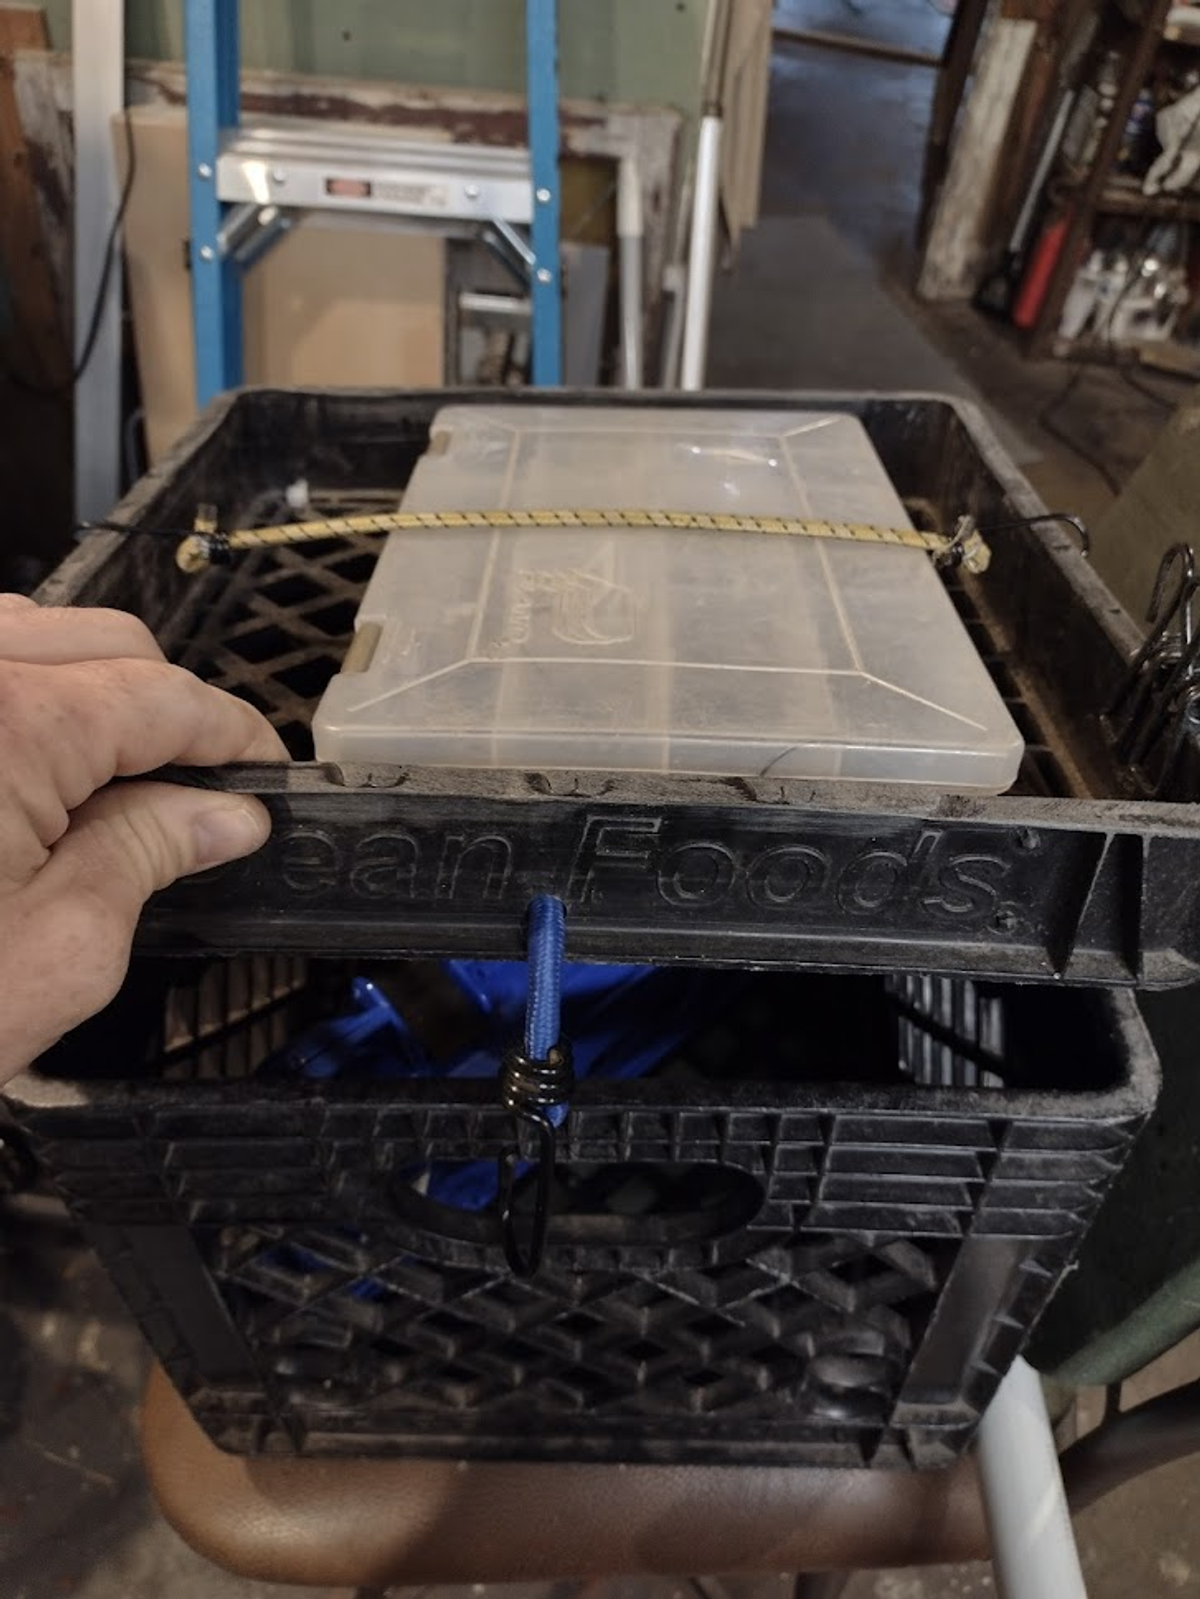
Here is what the final product will look like
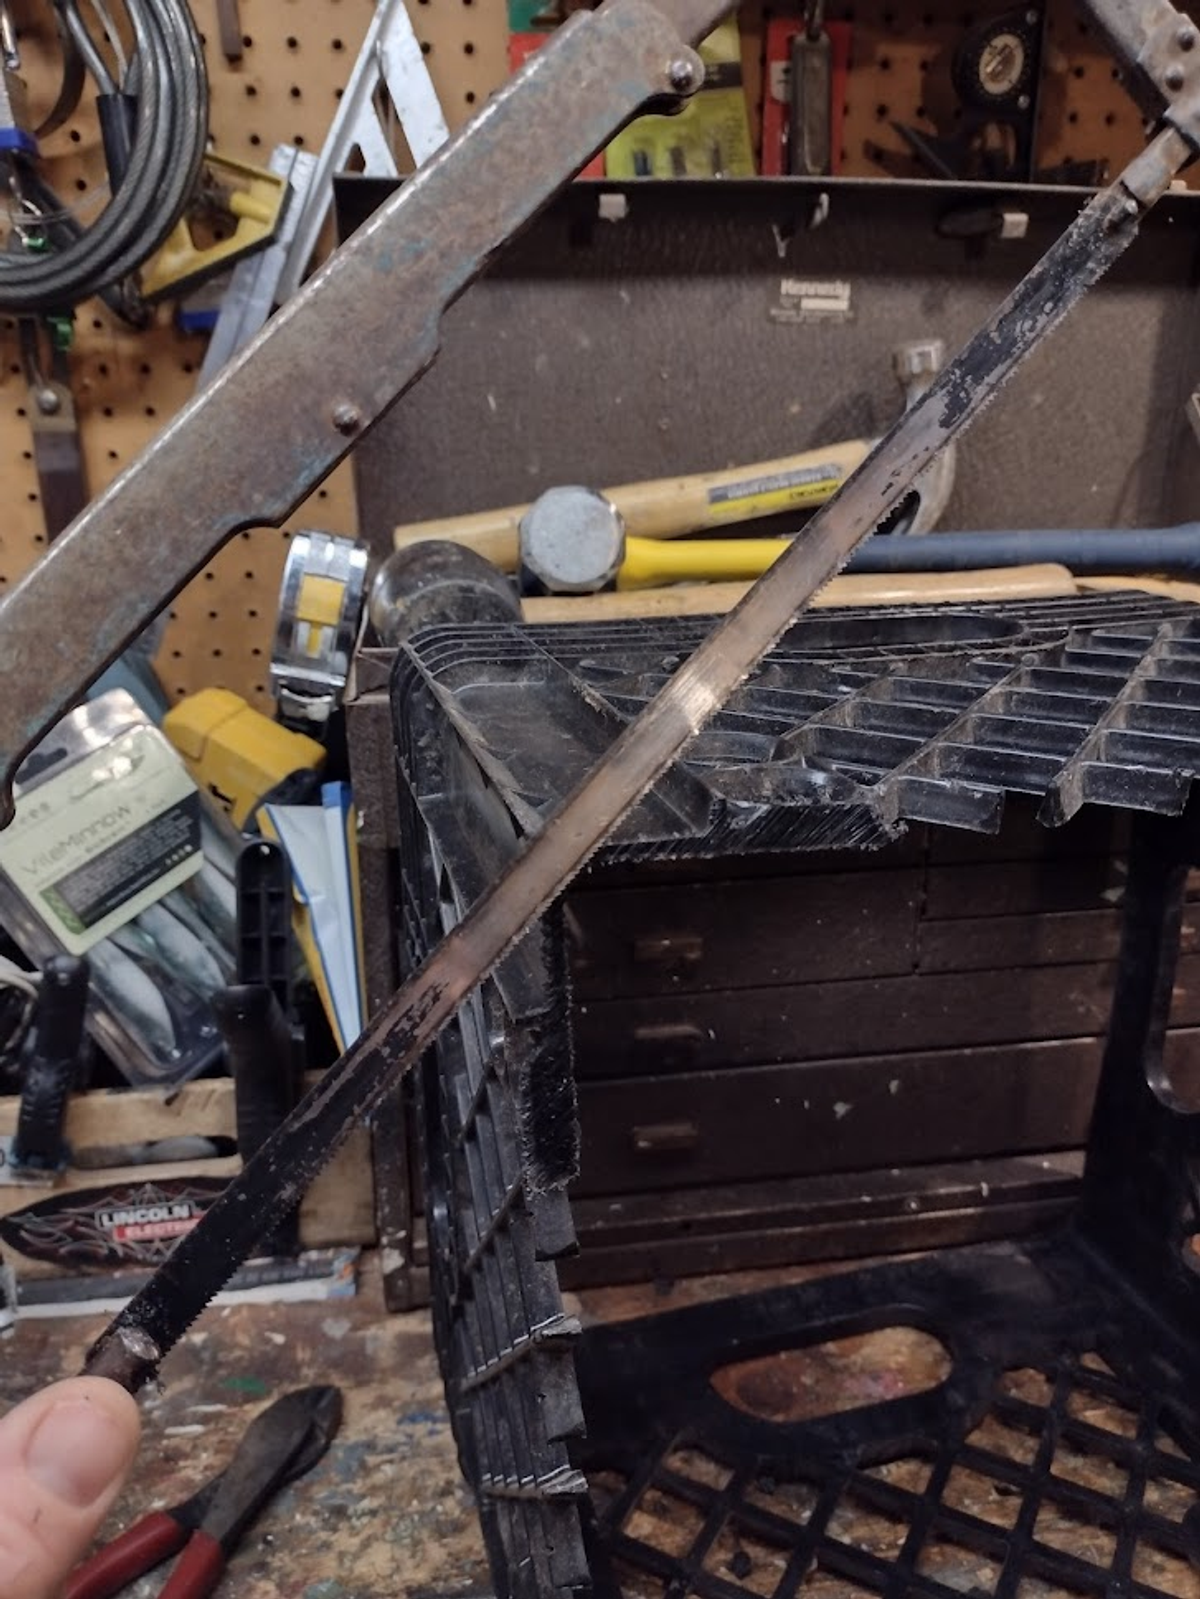
I used a hack saw to cut the thick corner pieces.
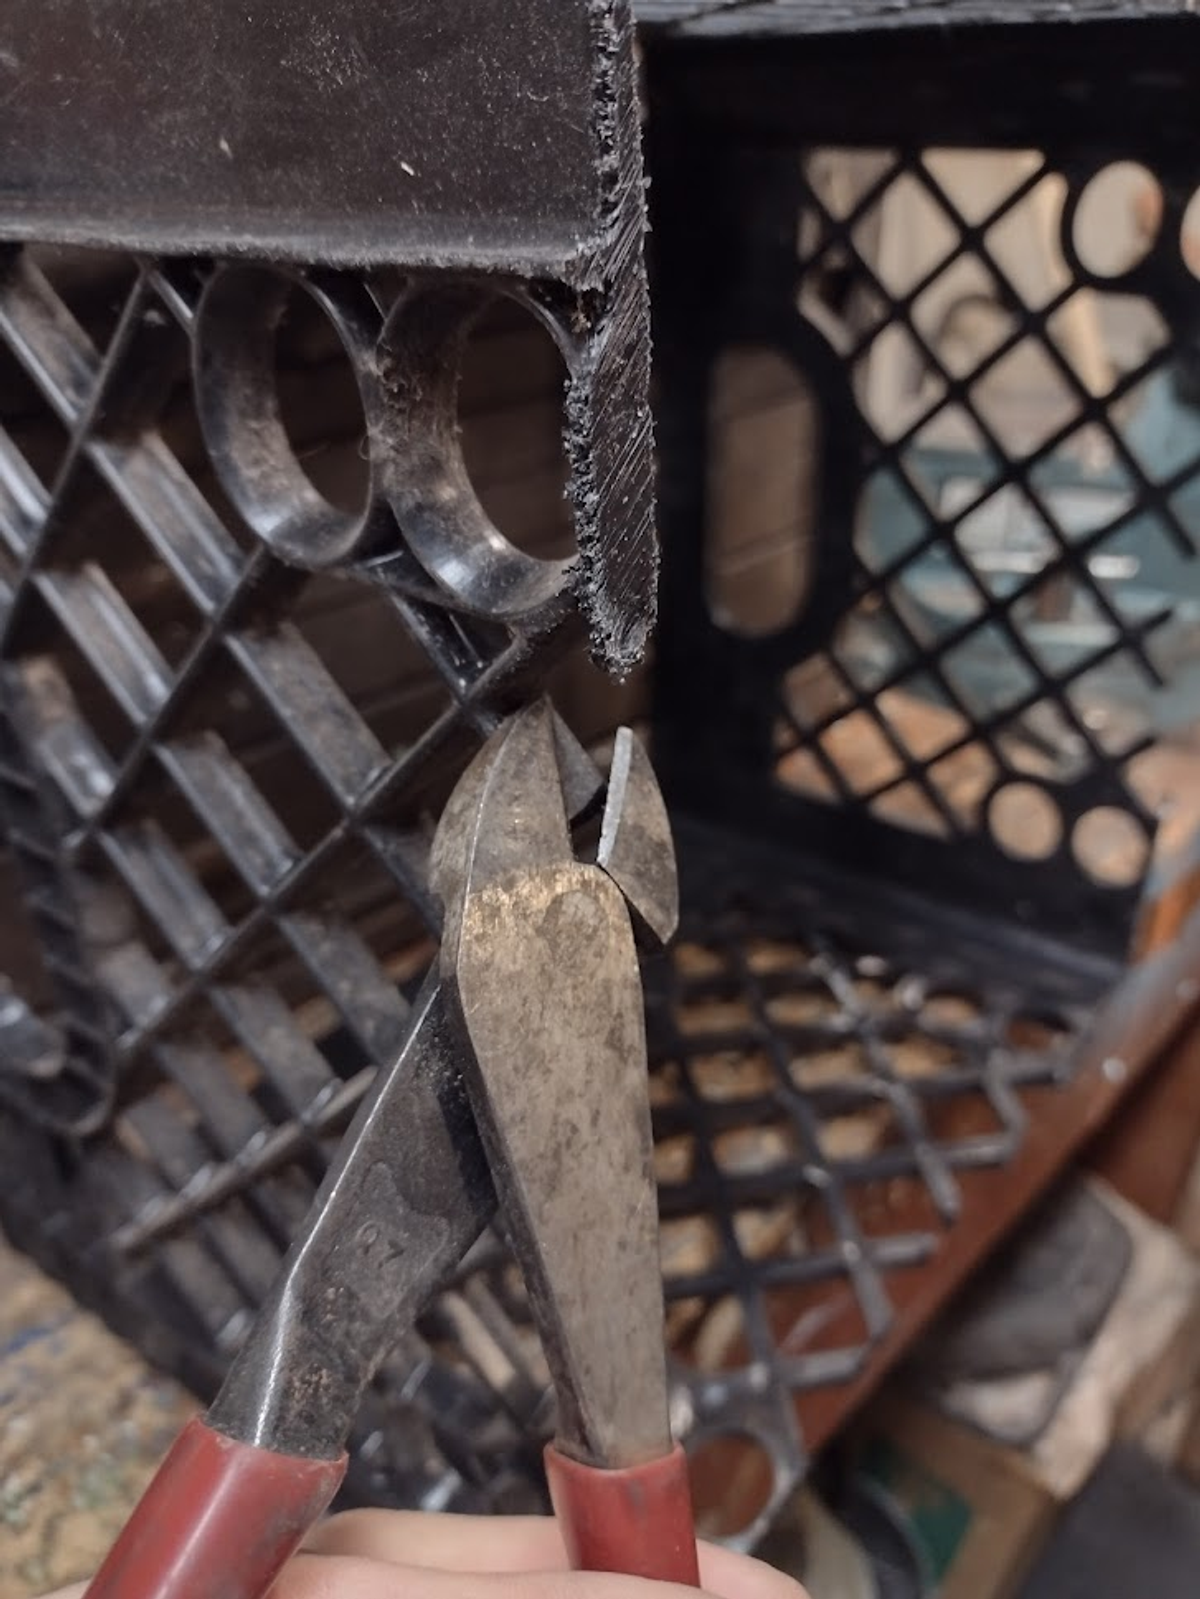
Then I used a pair of cutting pliers on the small webbed connection points in the middle of the crate.
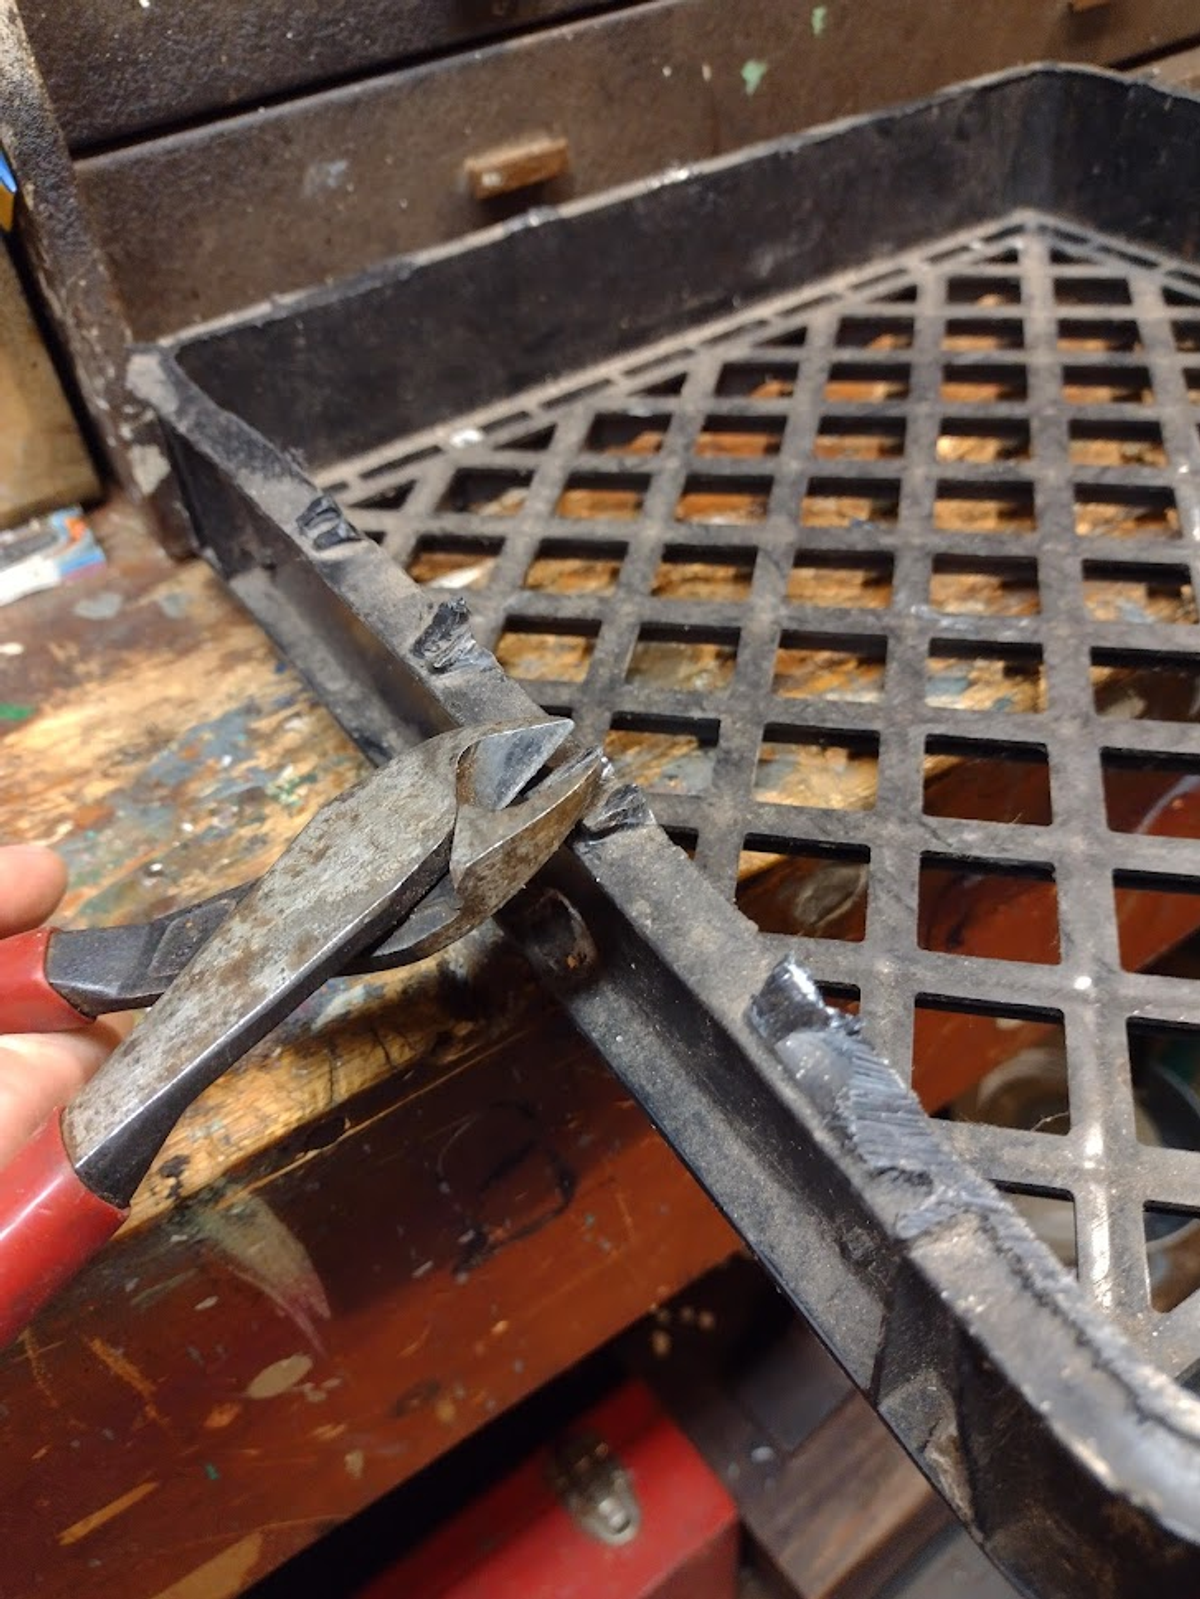
Cutting as close to the base as I can helped save time while sanding and filing.
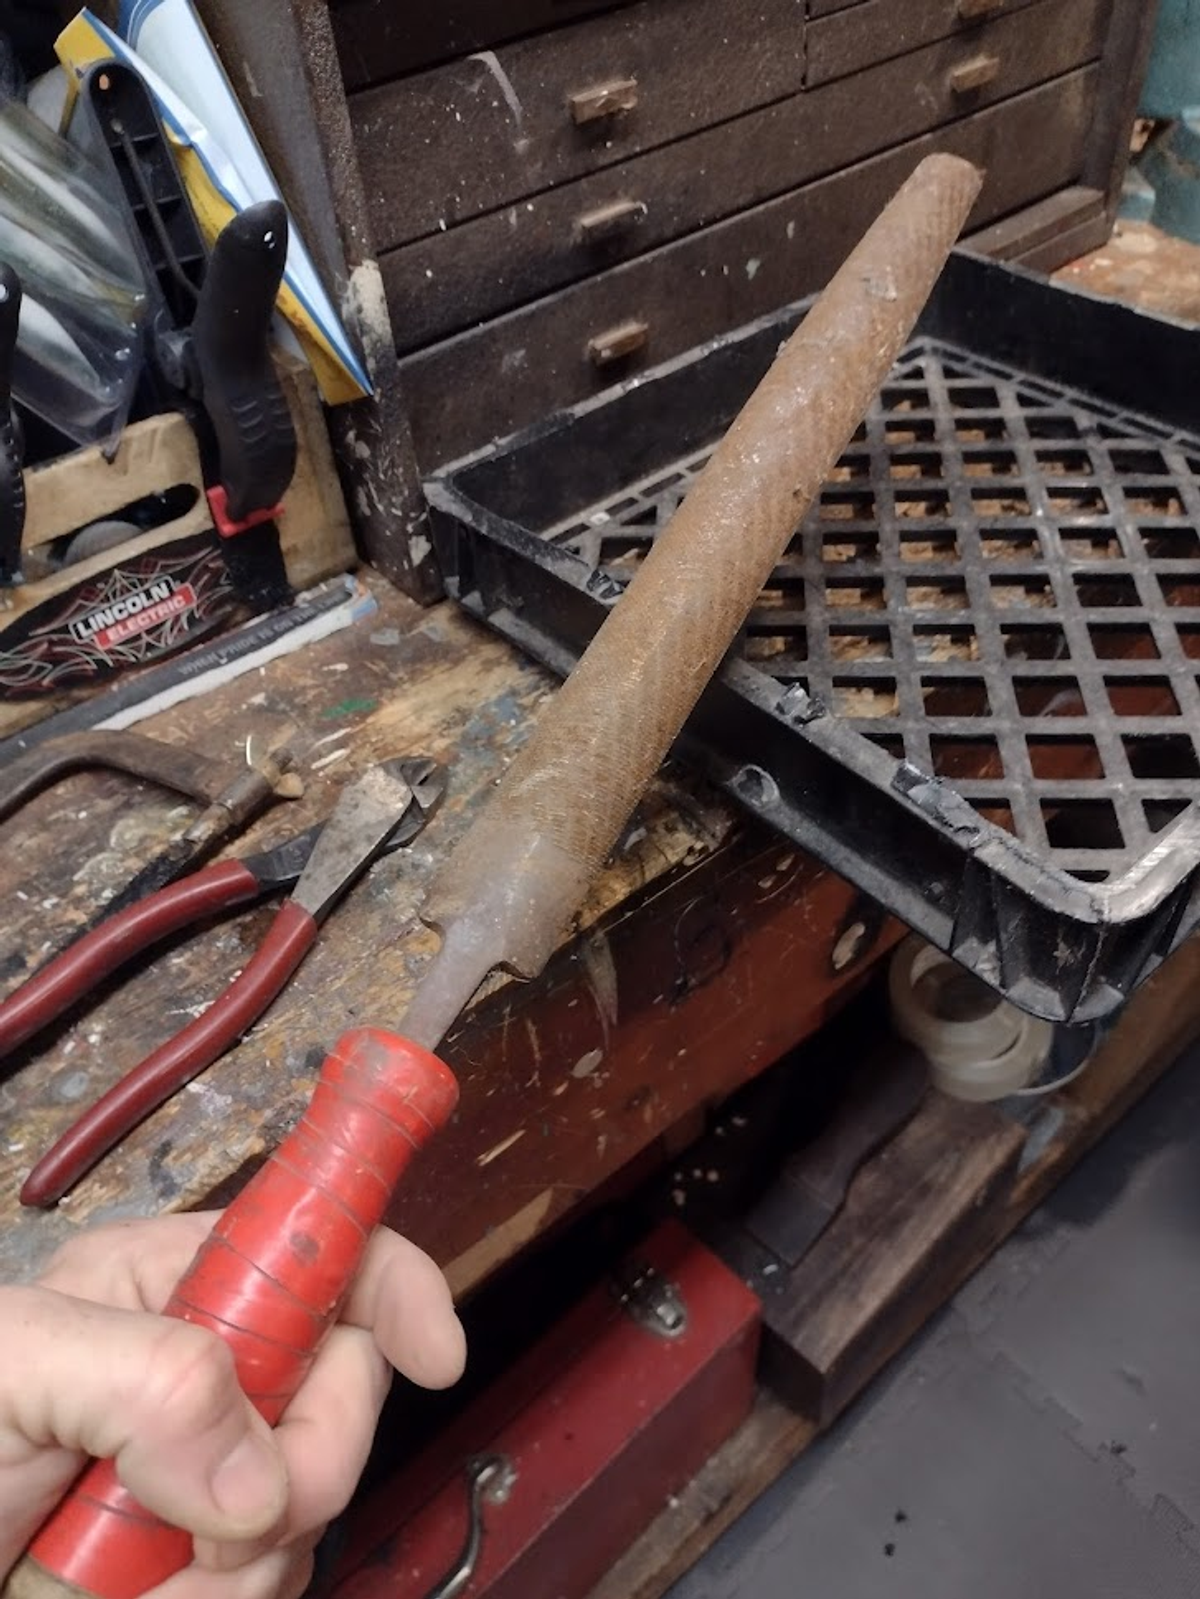
Then I used a rasp file to clean up the areas where I cut the crate. After that, I followed things up with paper to help get a smooth finish.
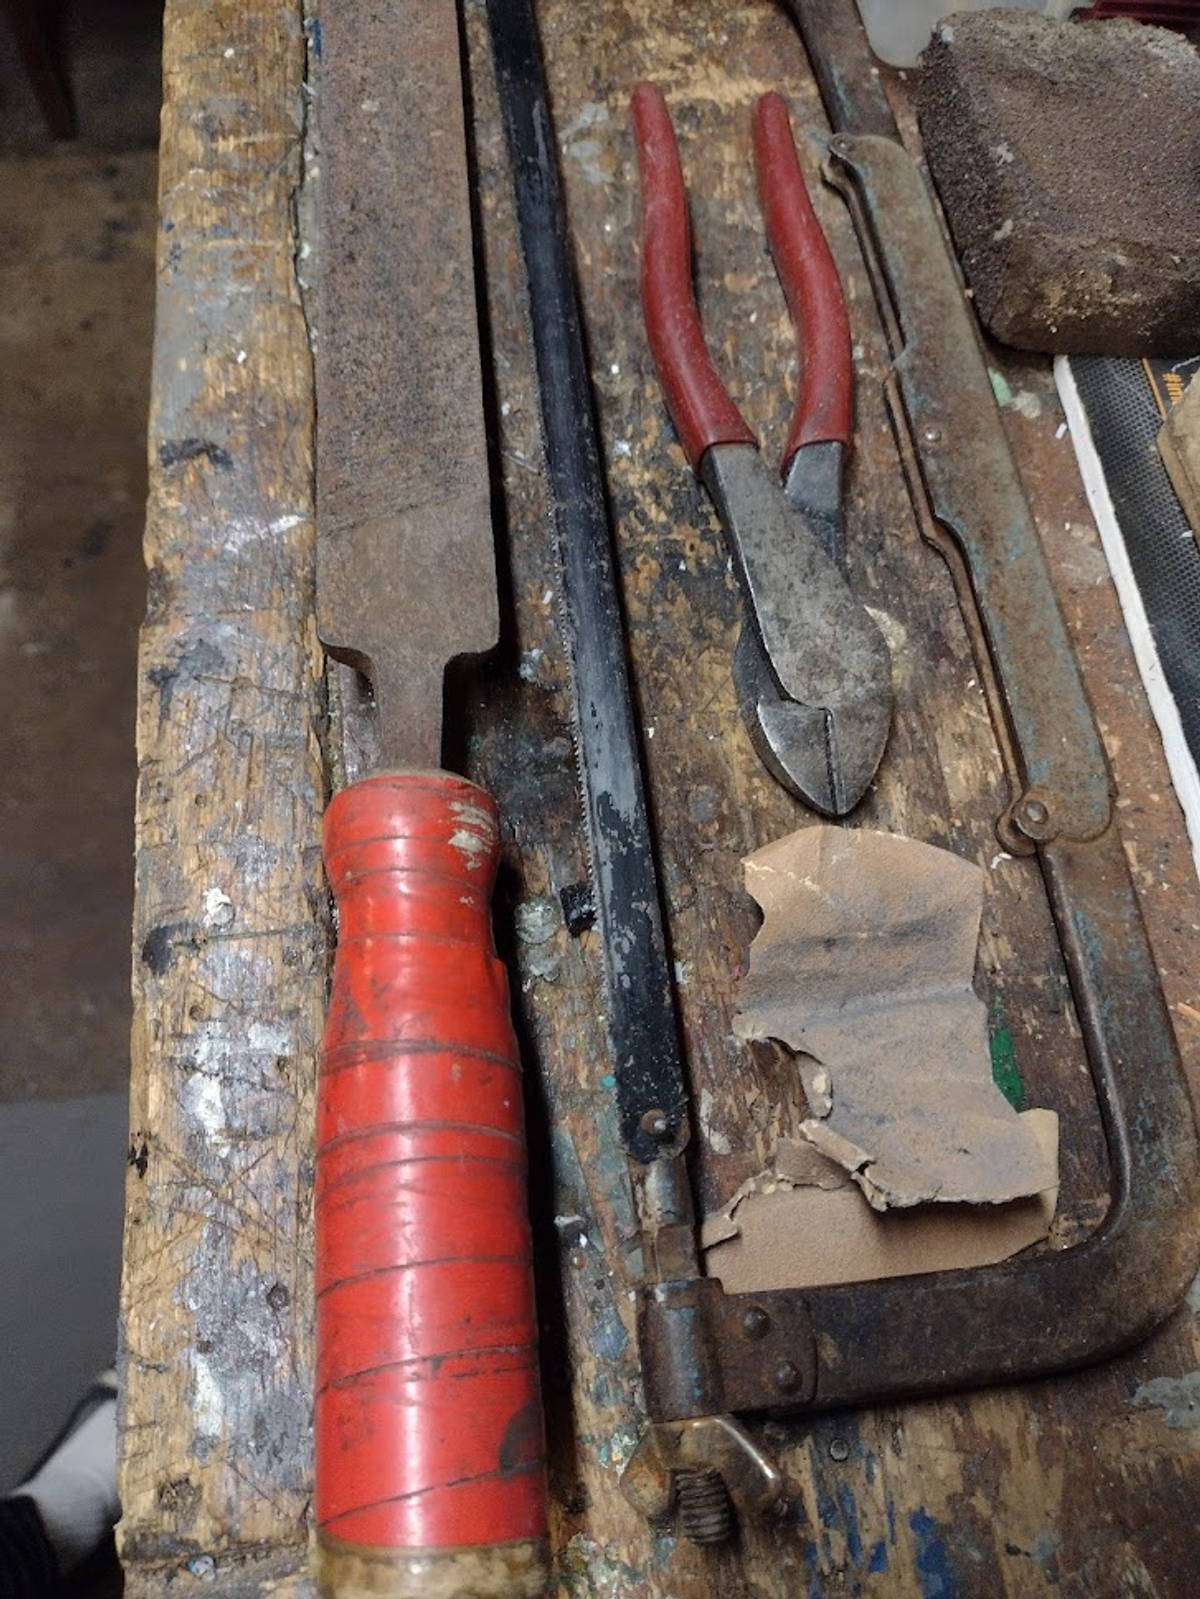
These are the tools I used to complete the task this far. A rasp file, a hack saw, cutting pliers, and sandpaper.

Next, I pulled out a drill and two drill bits - large enough to fit a zip tie and the other the size of a bungee cord.
I used a ¼ drill bit and made five holes on the backside of the crate. Drilling the holes while the two pieces are on top of each other will ensure the holes line up perfectly.
You can see the top holes and bottom holes in the picture above.
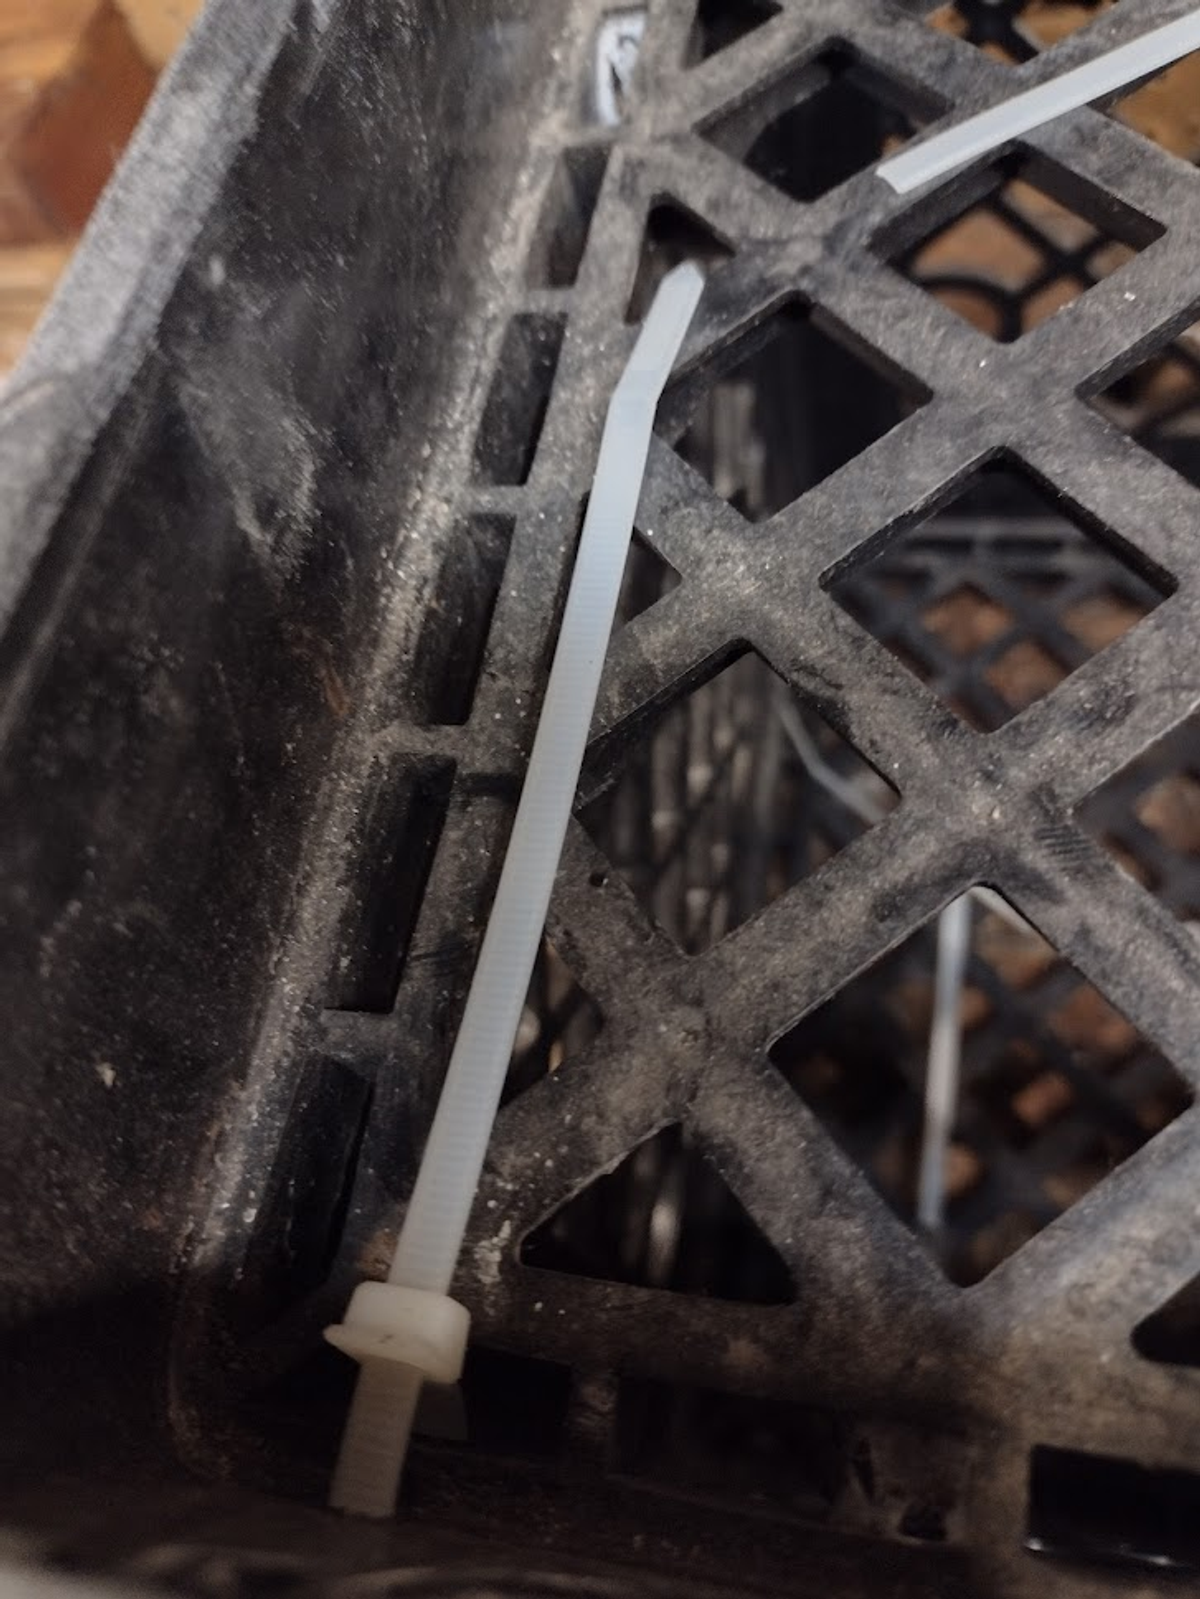
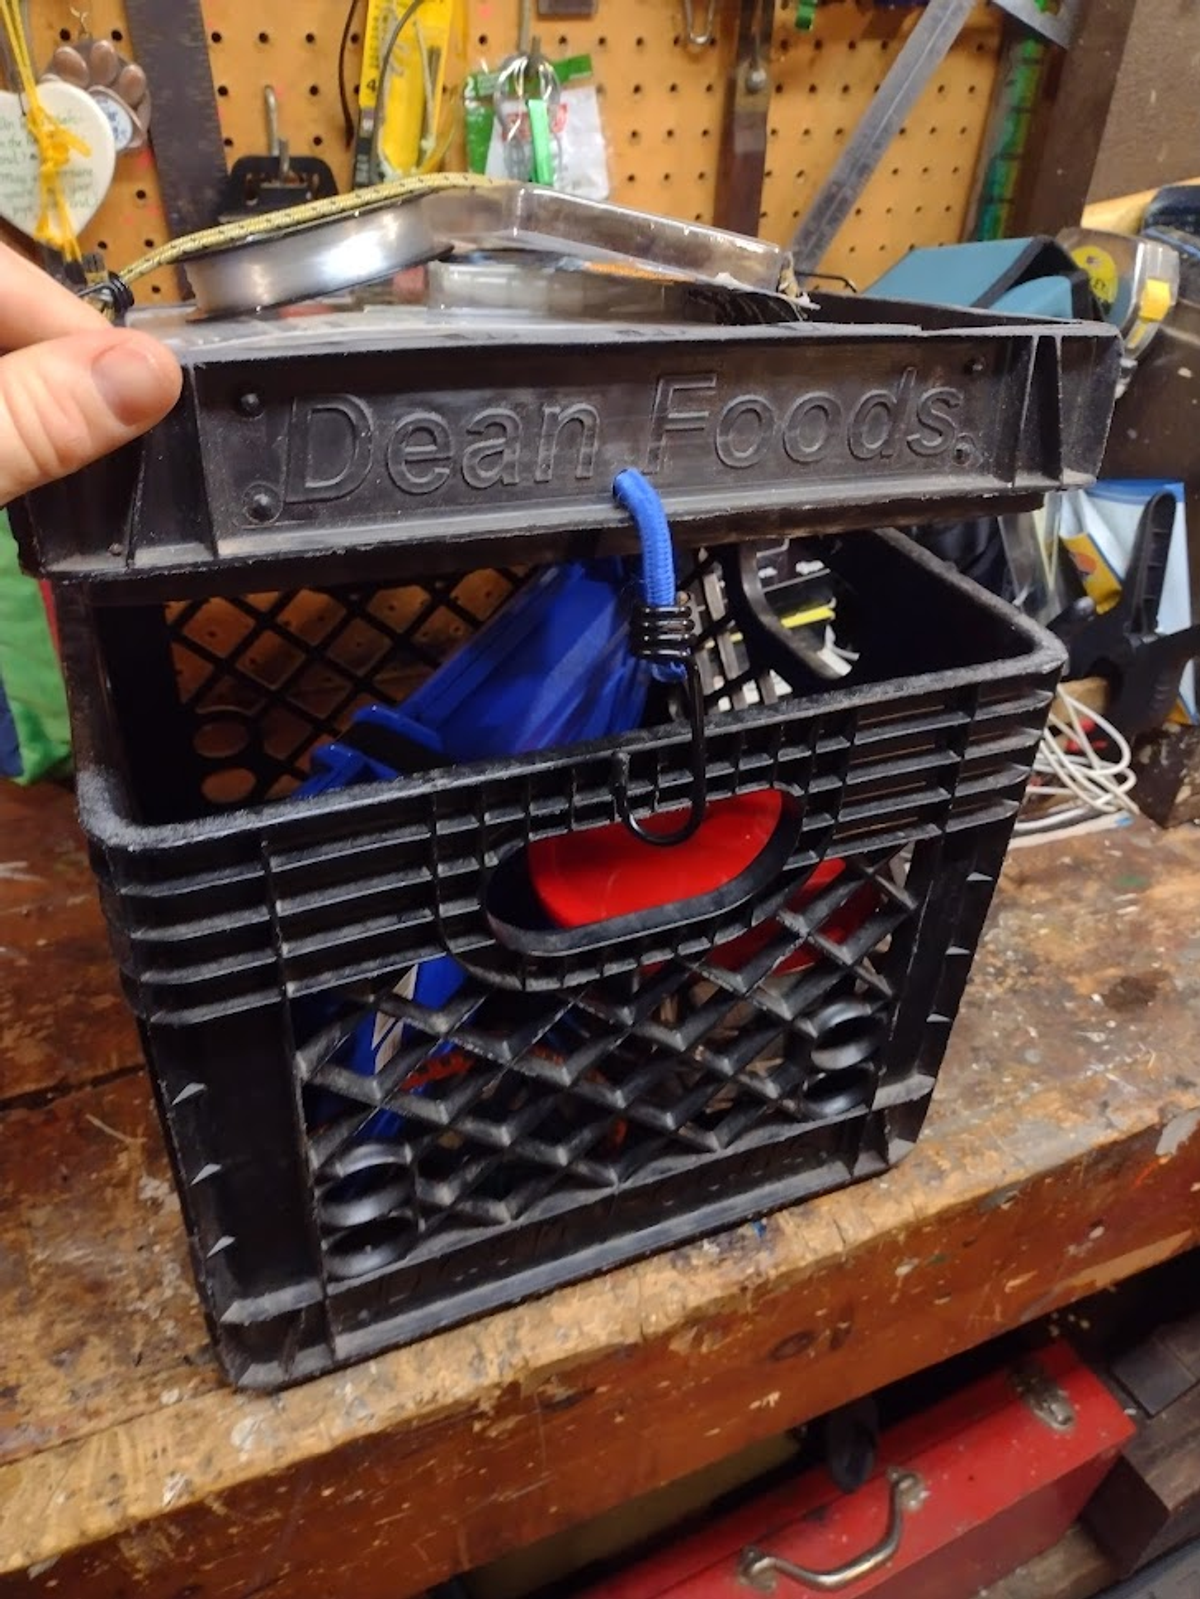
After drilling holes, I strung five zip through the drilled holes, creating the fishing crate hinge.
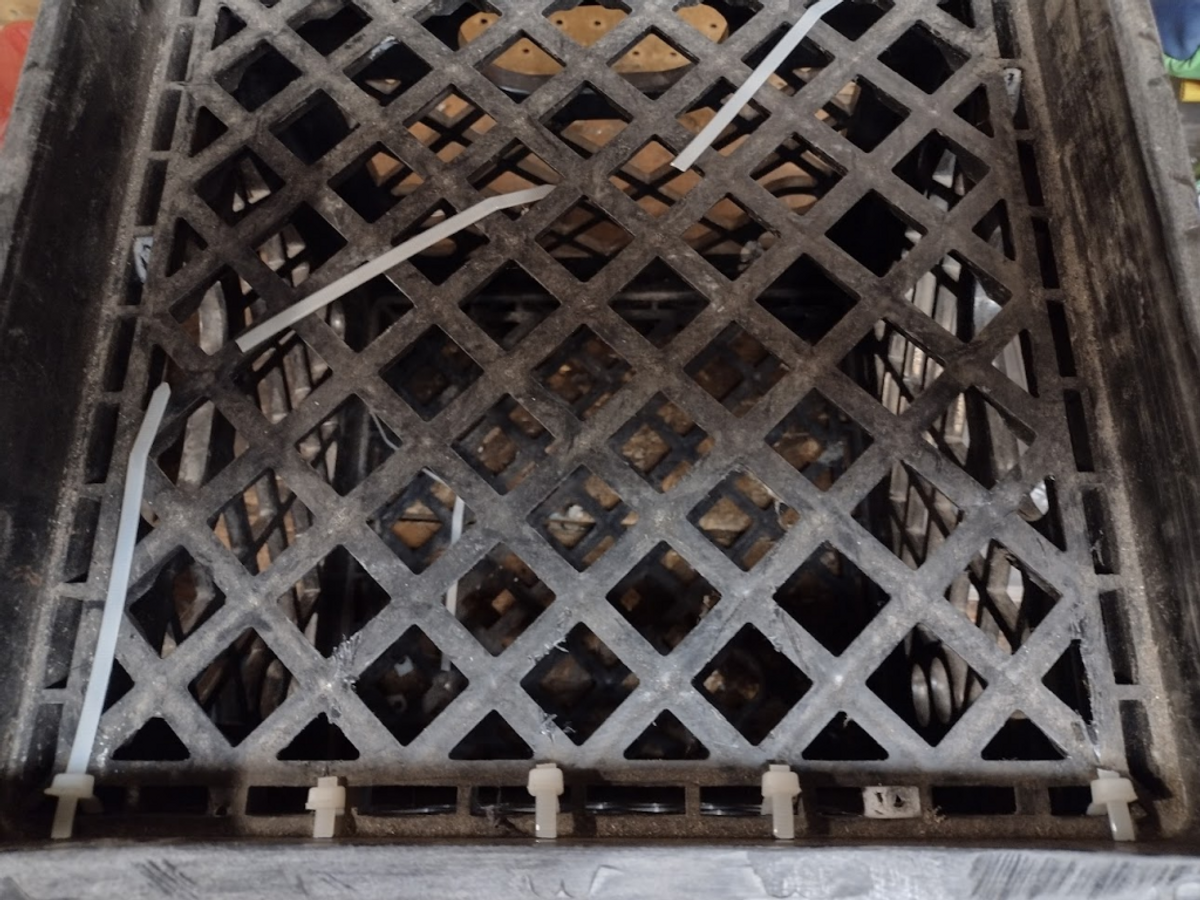
After running the zip-ties, tighten them enough for a secure open and close motion but not too tight. Going little by little helps lock in just the right amount of resistance. Once dialed in, snip off the tag end of each zip tie.
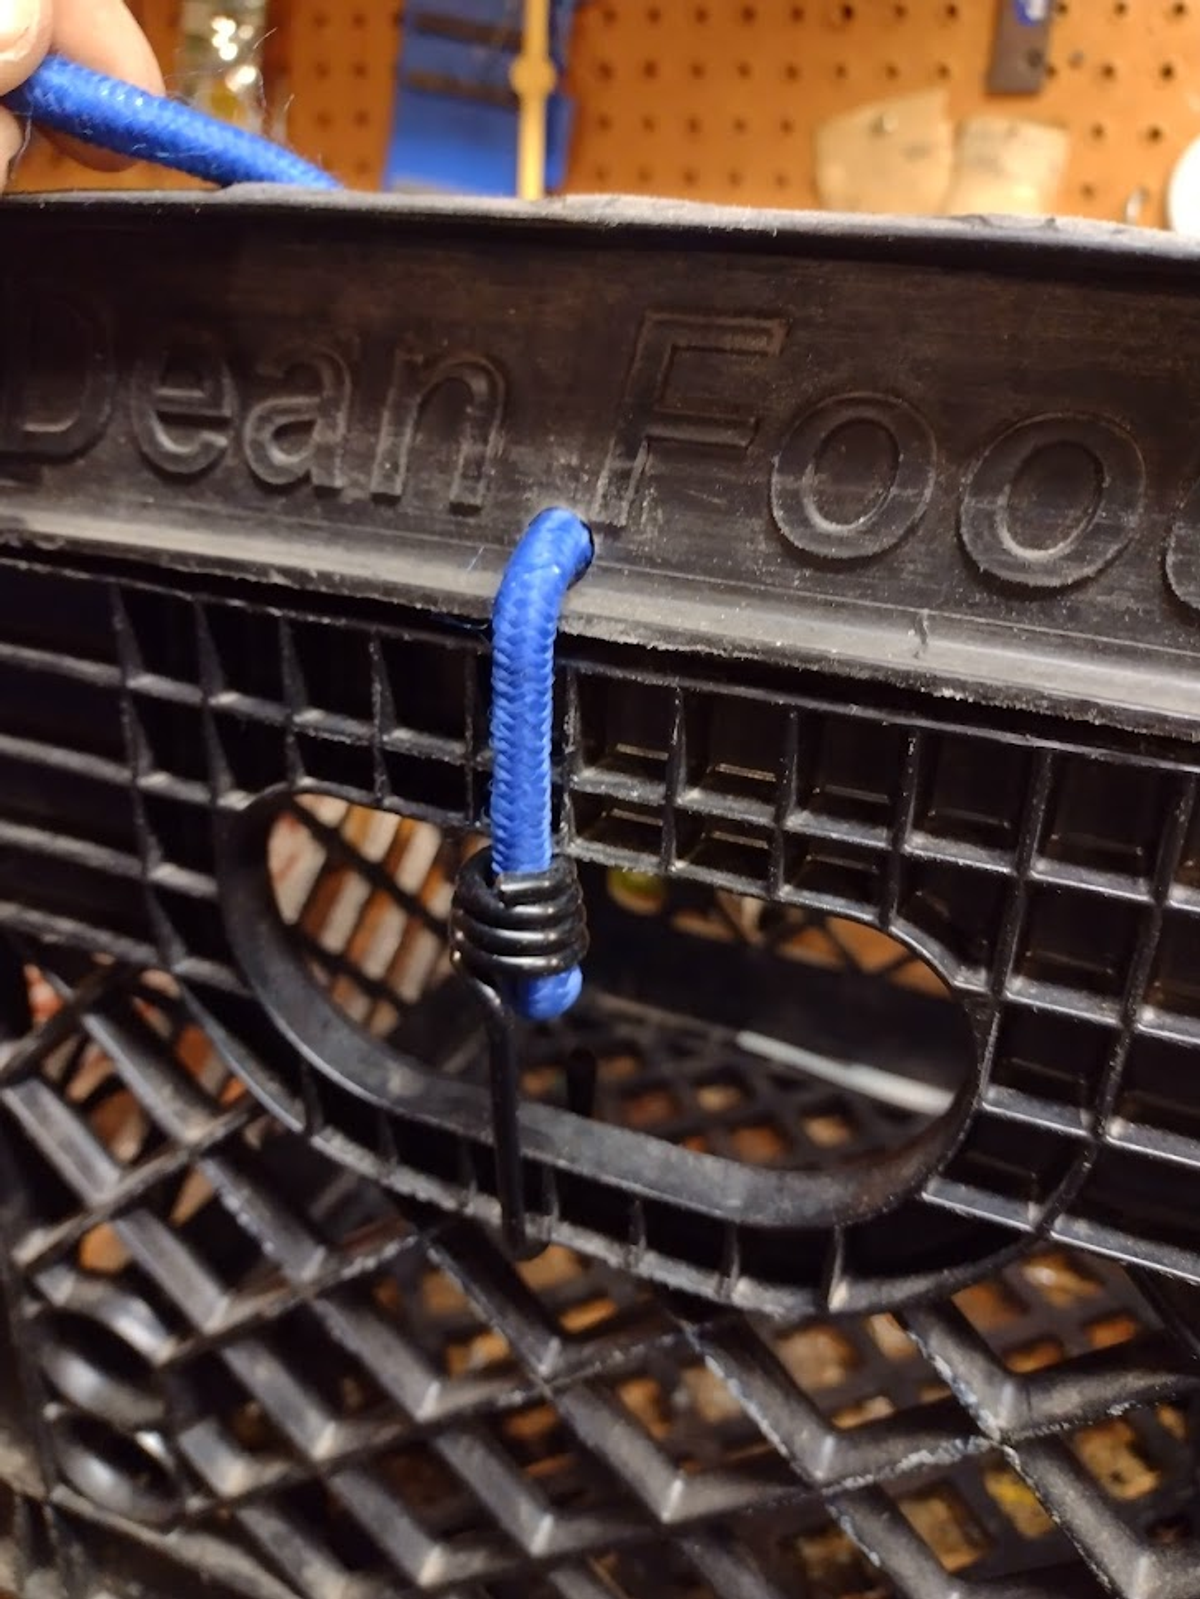
Next, I drilled a large hole on the front side of my crate that was large enough to fit a standard bungee cord. A ½ drill bit worked perfectly for me. Cut one end of the bungee cord to slide it through the newly drilled hole.
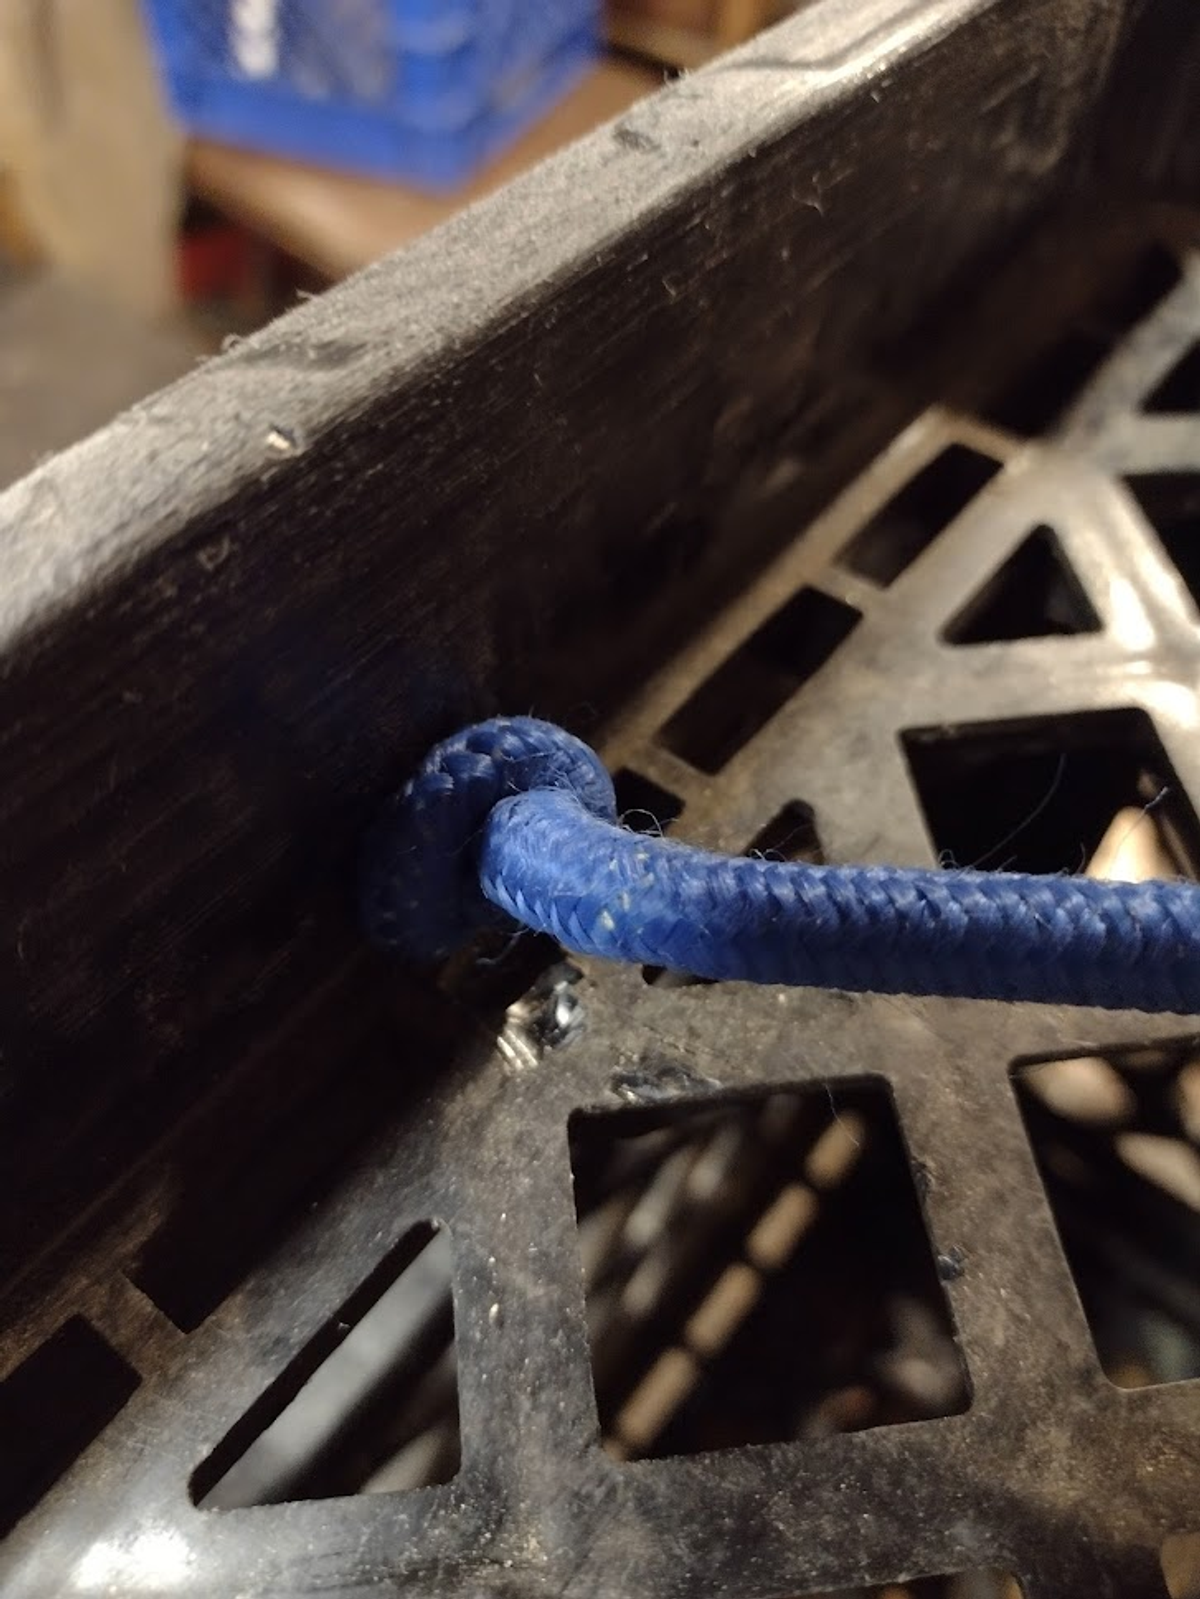
Tying a simple overhand knot after the bungee cord is fed through to lock things in. Then, adjust the knot a few times until you can get the other end of the bungee cord to clip on your milk crate securely.
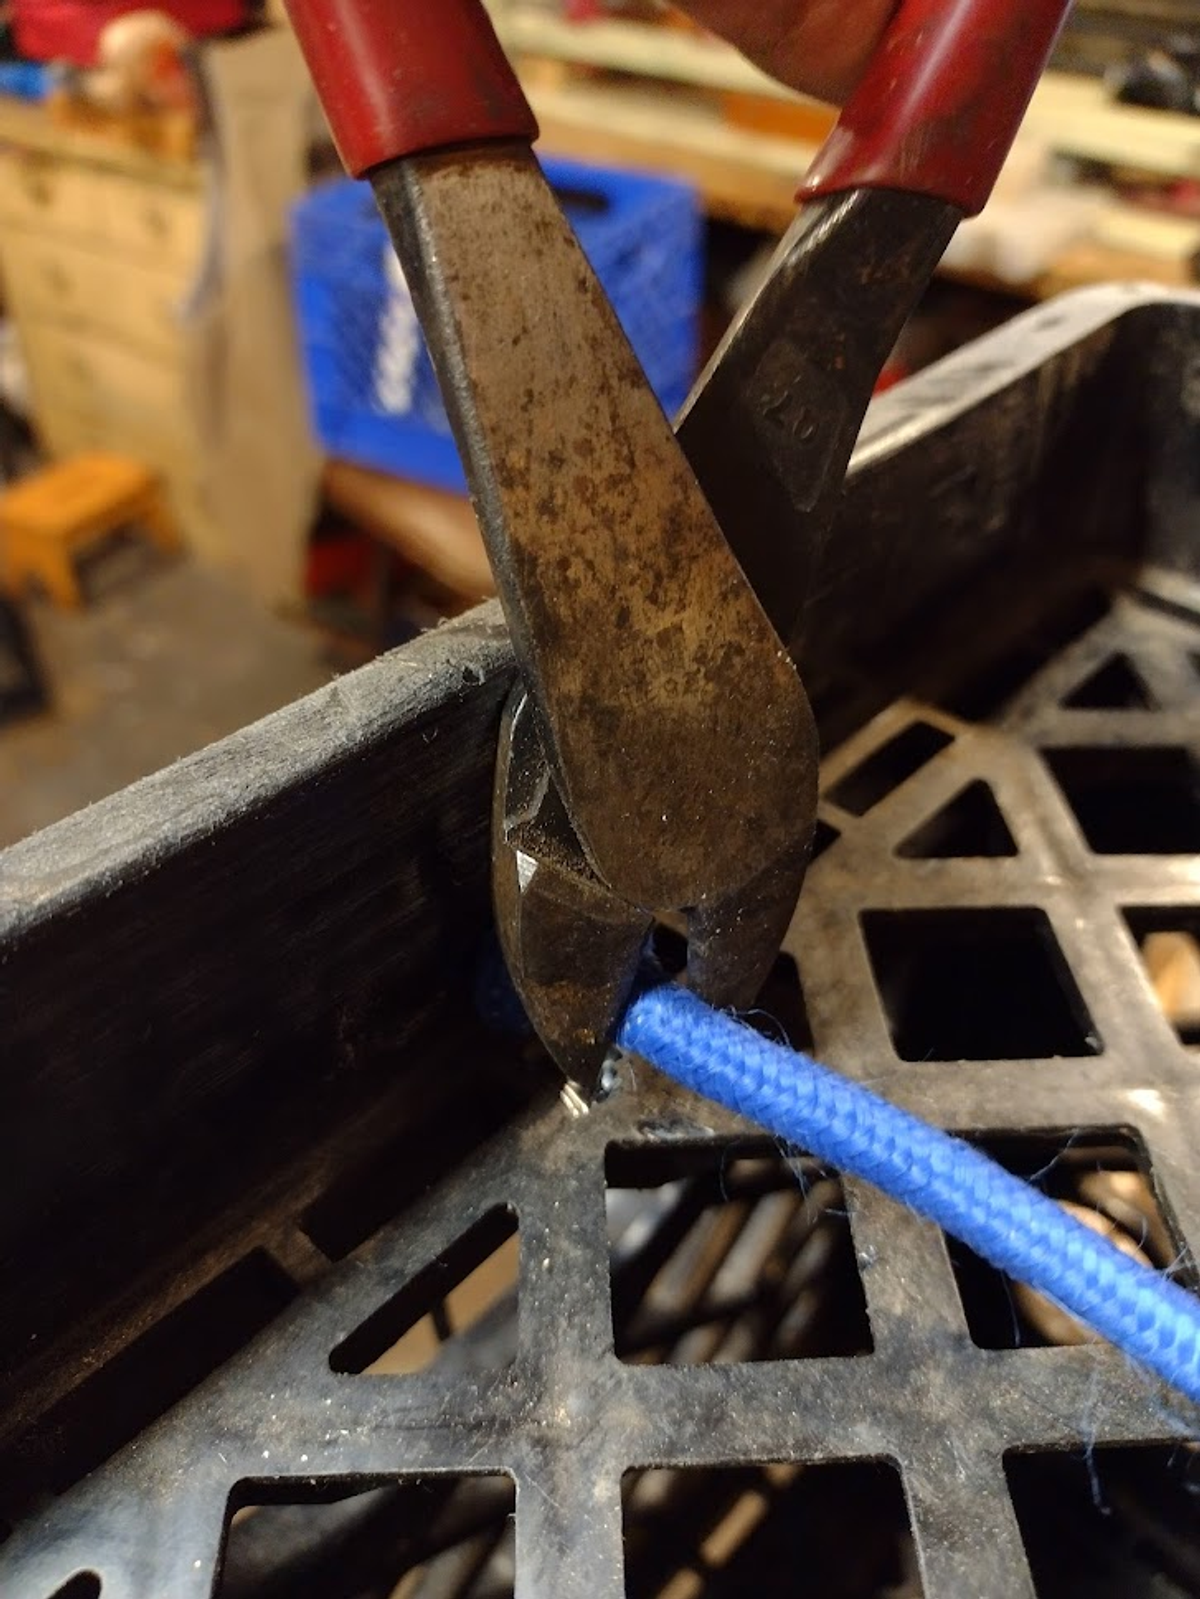
Next, cut the remaining tag end from the bungee cord and then singe the loose ends with a lighter.
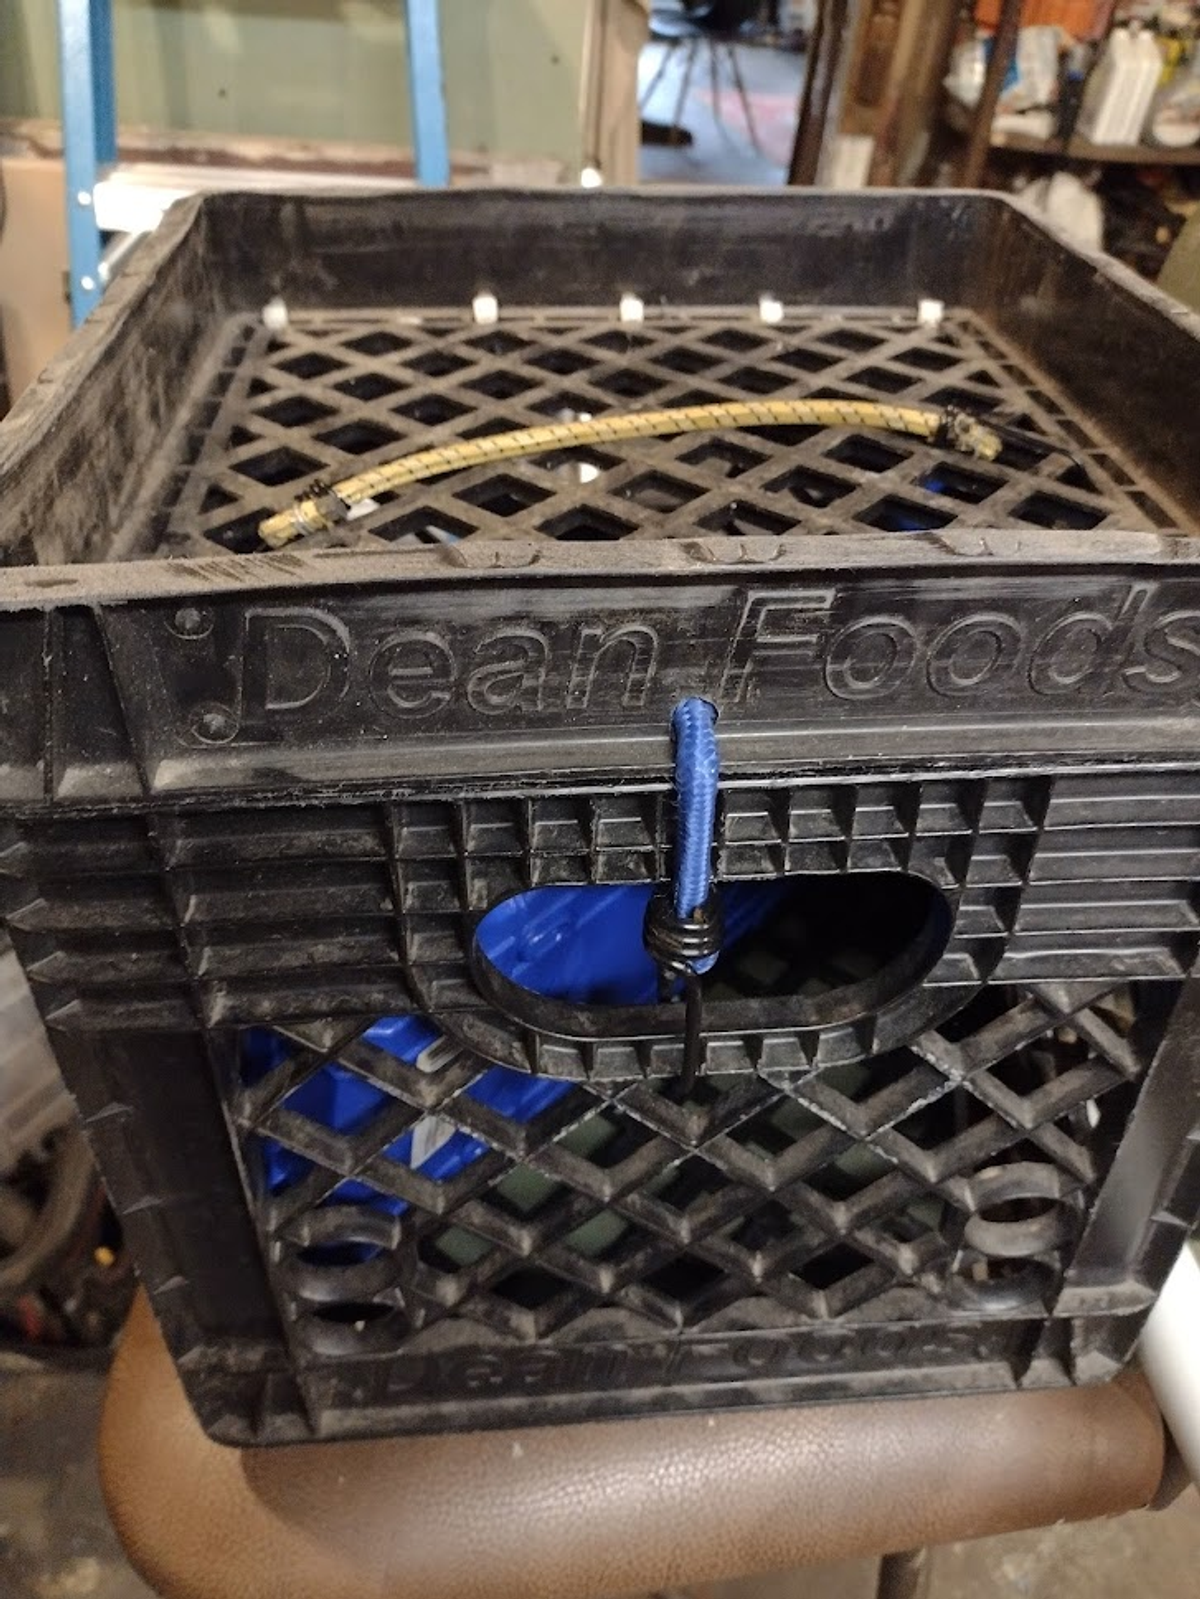
You should now be able to lock your milk crate with ease!
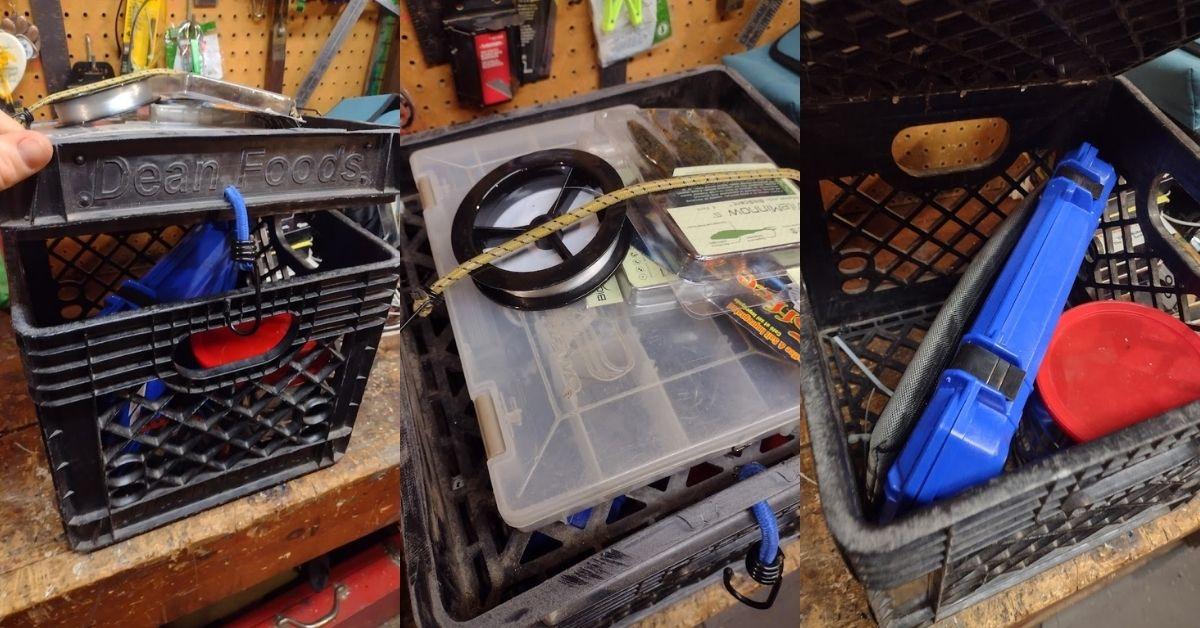
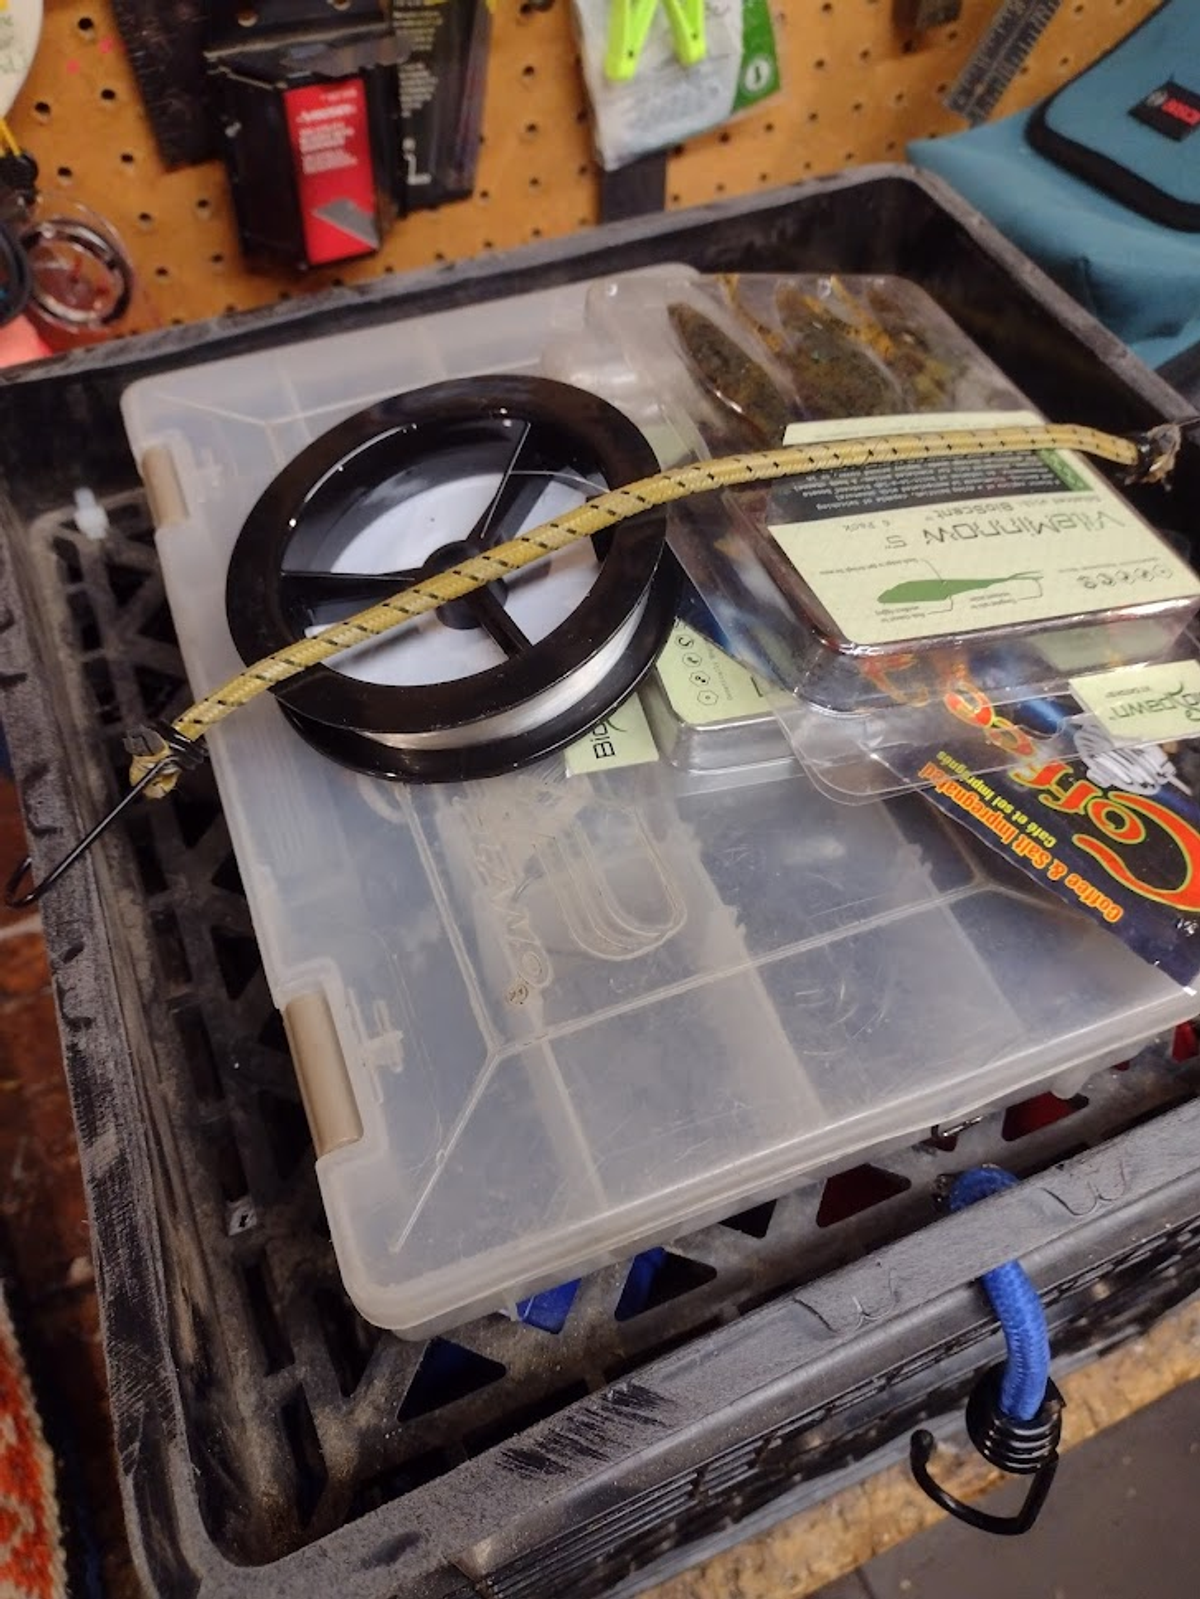
Next, start rigging out your crate with tackle trays and other fishing accessories you might need on the water. You can fit two large 3700 style trays diagonally or 4 to 5 smaller trays, which will be much easier.
Add bungee cords and clips over the top tray to secure the tackle and gear you might need quick access to. You can also add, clips for pliers, cutting tools, and even rod storage.
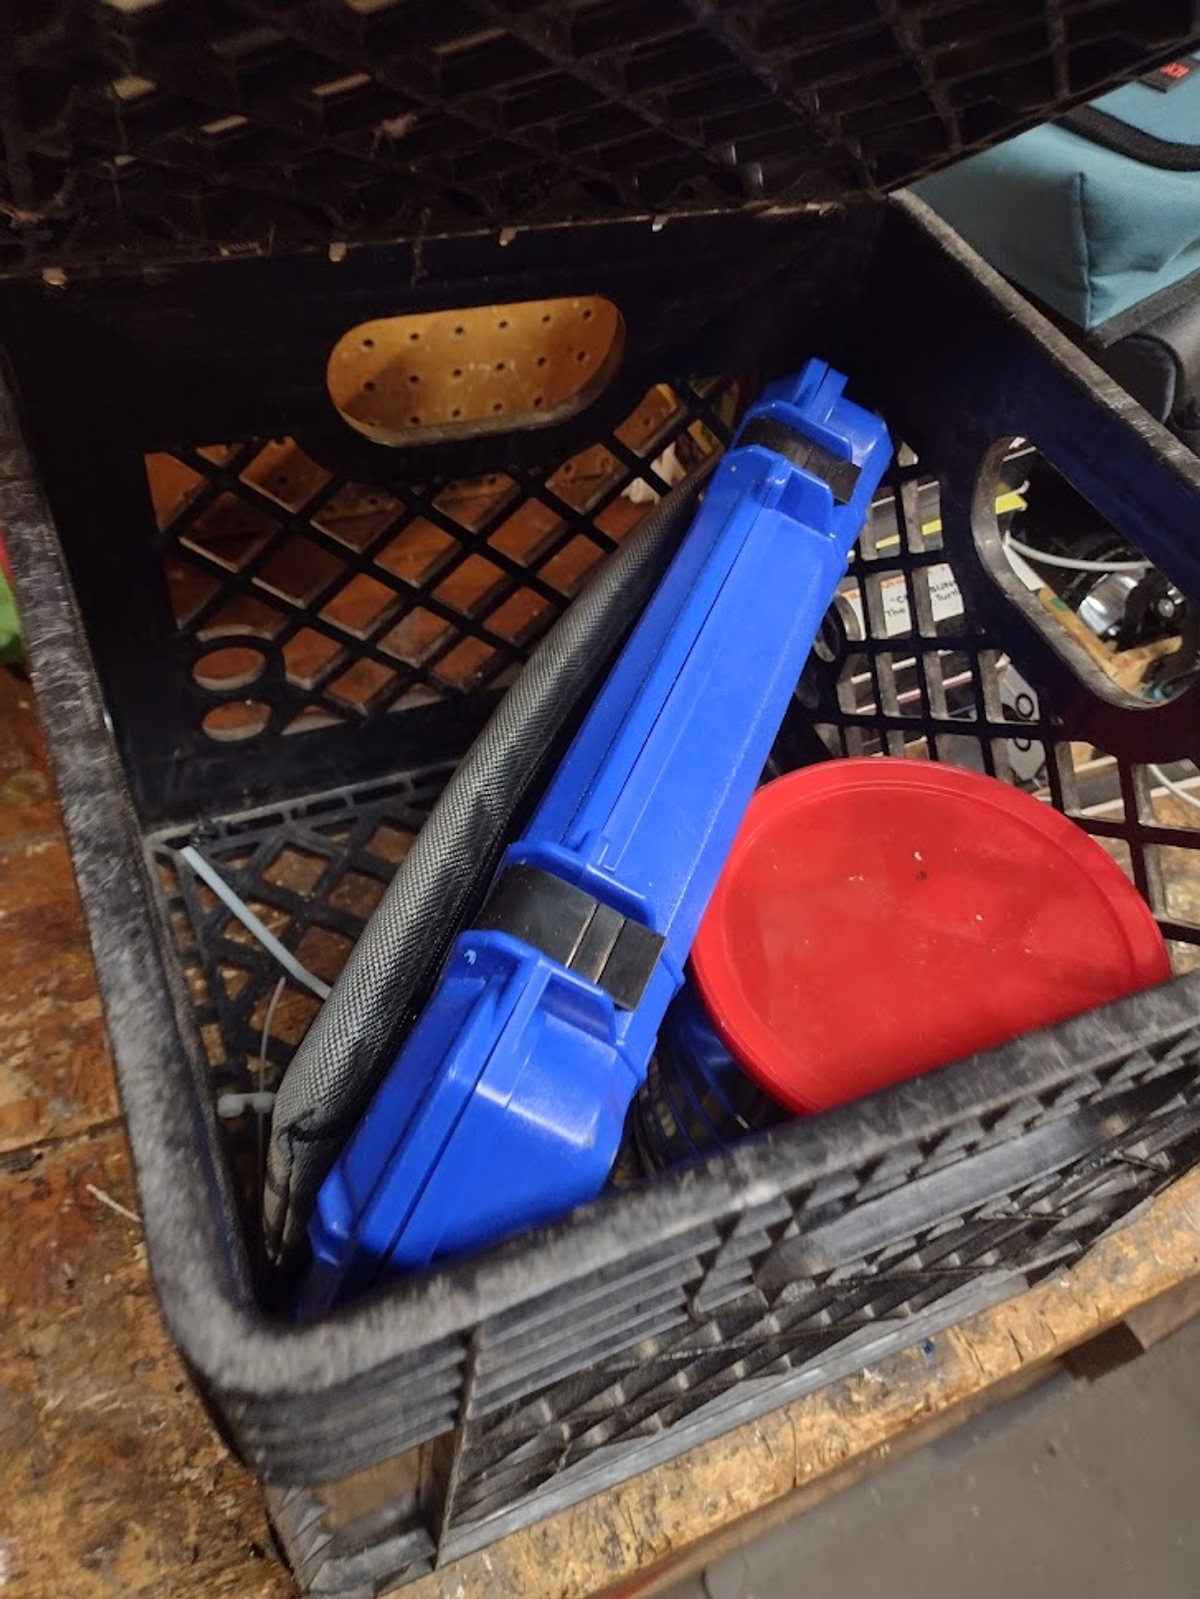
While there will be some adjusting and tweaking, here are some of the things one might carry. A tackle tray, a small zippered bag for plastics, and an old coffee can for miscellaneous items or trash.
Hopefully, this quick slide show gave you the rundown on what it takes to make a similar fishing crate for yourself. It doesn’t take much time, equipment, or skill to complete and the end result is a sturdy and functional piece of equipment. If you're not interested in making one yourself, check out the YakAttack Black Pack
If you have questions or ideas on how to make this better, email [email protected] – I’m all ears.
Updated April 20th, 2022 at 8:40 AM CT